You know what drives me nuts? Walking into Target in late September and seeing those Halloween pathway lights with $30 price tags. Thirty dollars for a single light that’ll probably break before Thanksgiving! My grandmother would’ve had words about that kind of nonsense. She was the queen of making something beautiful out of what most people would throw away, and every October I channel her energy hard.
This whole DIY pathway light obsession started three years ago when I was broke as a joke but still wanted my house to be the cool Halloween house on the block. You know the one – where kids actually get excited to trick-or-treat and parents slow down their cars to admire the decorations. I was scrolling through Pinterest at 2 AM (as one does when avoiding responsibility), and I saw these gorgeous pumpkin lights lining someone’s walkway. The caption mentioned they cost over $200 total. Two hundred dollars! For pathway lights that only get used one month a year!
That’s when I got stubborn. My mom always said I inherited the family trait of refusing to pay full price for anything, and she wasn’t wrong. I started looking around my apartment with new eyes, seeing potential in every empty jar, old container, and random craft supply I’d hoarded over the years. That plastic pumpkin bucket from last year’s candy haul? Suddenly it looked like the perfect light housing. Those solar lights I’d bought on clearance and never used? They were practically begging to be turned into something special.
What started as a money-saving experiment turned into this incredible discovery: homemade pathway lights aren’t just cheaper, they’re way more interesting than anything you can buy. Each one has personality because you made it with your own hands. When my neighbor Sarah asked where I got my “store-bought” lights last year, and I told her I’d made them from coffee pods and mason jars, she stared at me like I’d just revealed some ancient secret.
Here’s what I’ve learned after three years of experimenting with every recyclable material I could get my hands on. Some of these projects I nailed on the first try, others took a few disasters before I figured them out. All of them cost less than $5 each to make, and most use stuff you probably already have lying around. My pathway went from basic to the kind of setup that makes the neighborhood kids detour past our house just to see the lights.
The best part? Every single one of these ideas can be customized to match your vibe. Want spooky Victorian gothic? We’ve got that. Prefer cute and whimsical? Covered. Going for full-on haunted house terror? Oh, I have some ideas that’ll make your trick-or-treaters question their life choices in the best possible way.
Table of Contents
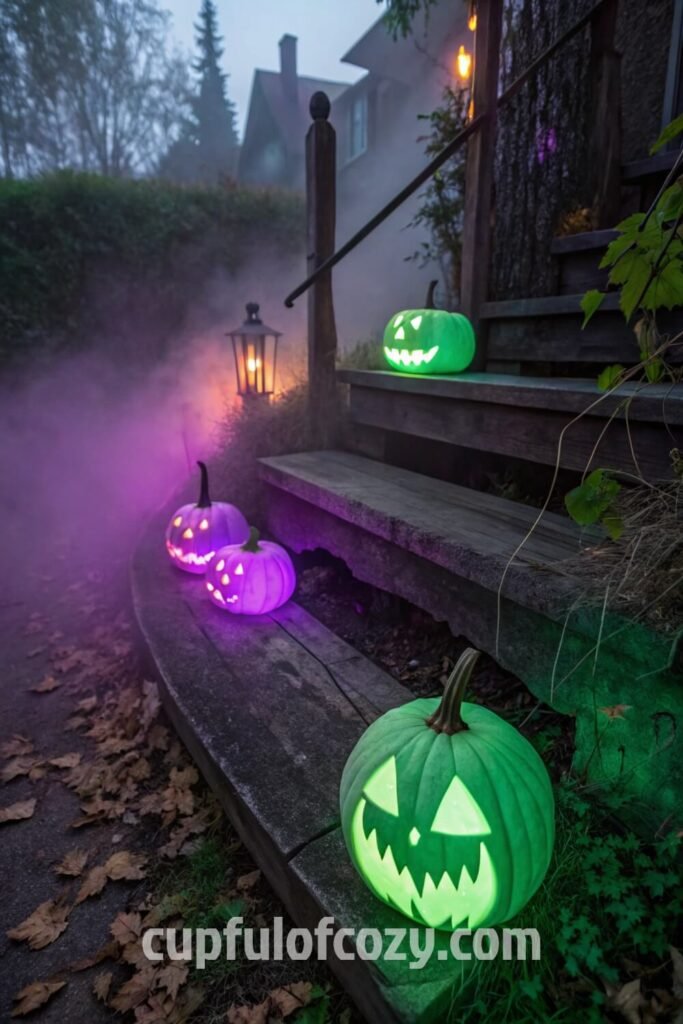
DIY Solar Pumpkin Path Lights Without Power Tools

Here’s the thing about power tools: they scare me. My dad tried teaching me to use his drill when I was sixteen, and I somehow managed to drill a hole through the workbench, the wall, and probably into the neighbor’s garage. So when I figured out this no-power-tools method, it felt like winning the lottery.
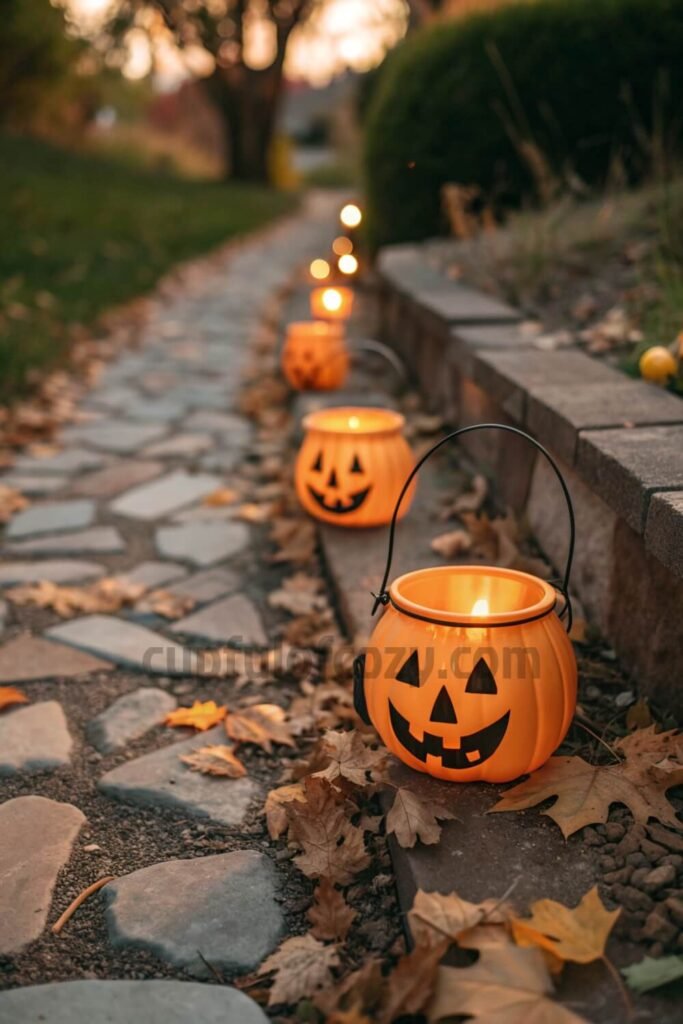
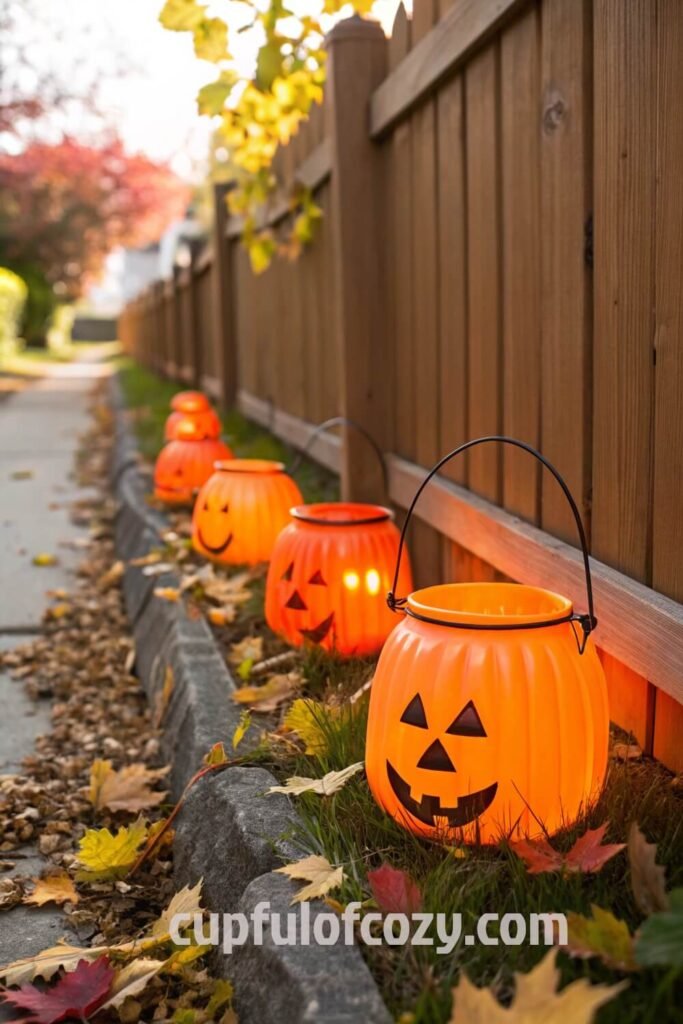
Those plastic pumpkin buckets they sell at dollar stores for collecting trick-or-treat candy? They’re perfect light housings. All you need is a sharp knife to cut a hole in the bottom that fits your solar LED path light stem. The solar panel sits right on top of the pumpkin like a little hat, soaking up sunshine all day. At night, your walkway glows with these perfect jack-o’-lantern shapes that look way more expensive than the $3 total you spent.
I’ve been using the same set for three years now. They’ve survived thunderstorms, that weird hail we got last spring, and my nephew’s football landing on them multiple times. The solar aspect means no extension cords snaking across your yard like some suburban obstacle course, and they automatically turn on at dusk without you having to remember anything.
Solar Light Pumpkin Pail Pathway Lights
This is basically the grown-up version of the first project, and it’s become my go-to method because the results are just incredible. You drill a few drainage holes in your pumpkin pails (trust me on this – I learned about proper drainage after finding mosquito larvae having a pool party in mine), then create a little wire harness inside to hold your solar light steady.
The genius part is positioning that solar panel near the rim where it can actually catch sunlight instead of hiding in the shadow of the pumpkin. I use aluminum crafting wire because it bends easily and doesn’t rust. These lights are brighter than anything I could buy, and they charge even on cloudy days. Plus, pumpkin pails come in different sizes, so you can create this graduated effect along your pathway that looks incredibly professional.
Fairy Lights Inside Foam or Plastic Pumpkins
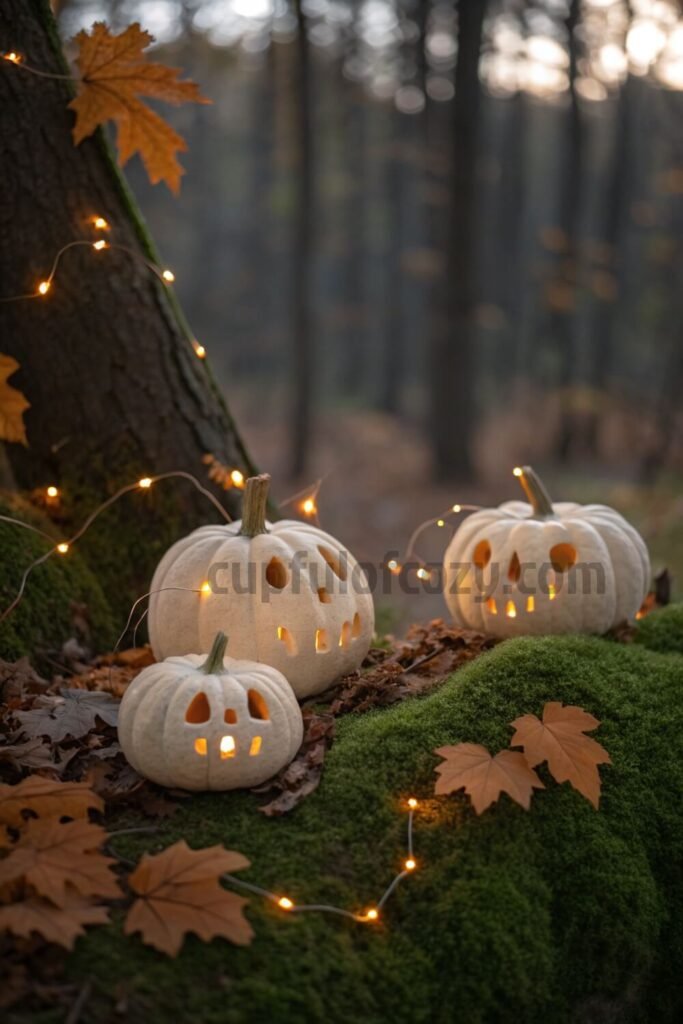
My cousin Maya showed me this trick when she was decorating for her daughter’s first Halloween. She had these foam pumpkins left over from some craft project and was about to donate them when inspiration struck. She stuffed battery-powered fairy lights inside, and the soft glow that came through was absolutely beautiful.
The foam diffuses the light in this wonderful way that’s not harsh on the eyes like some LED displays can be. If you want to get fancy, you can poke tiny holes in patterns or carve simple faces so the light creates these delicate designs on the ground. I keep a set of these on my front steps because they give off this cozy, welcoming vibe that balances out my more dramatic pathway lights.
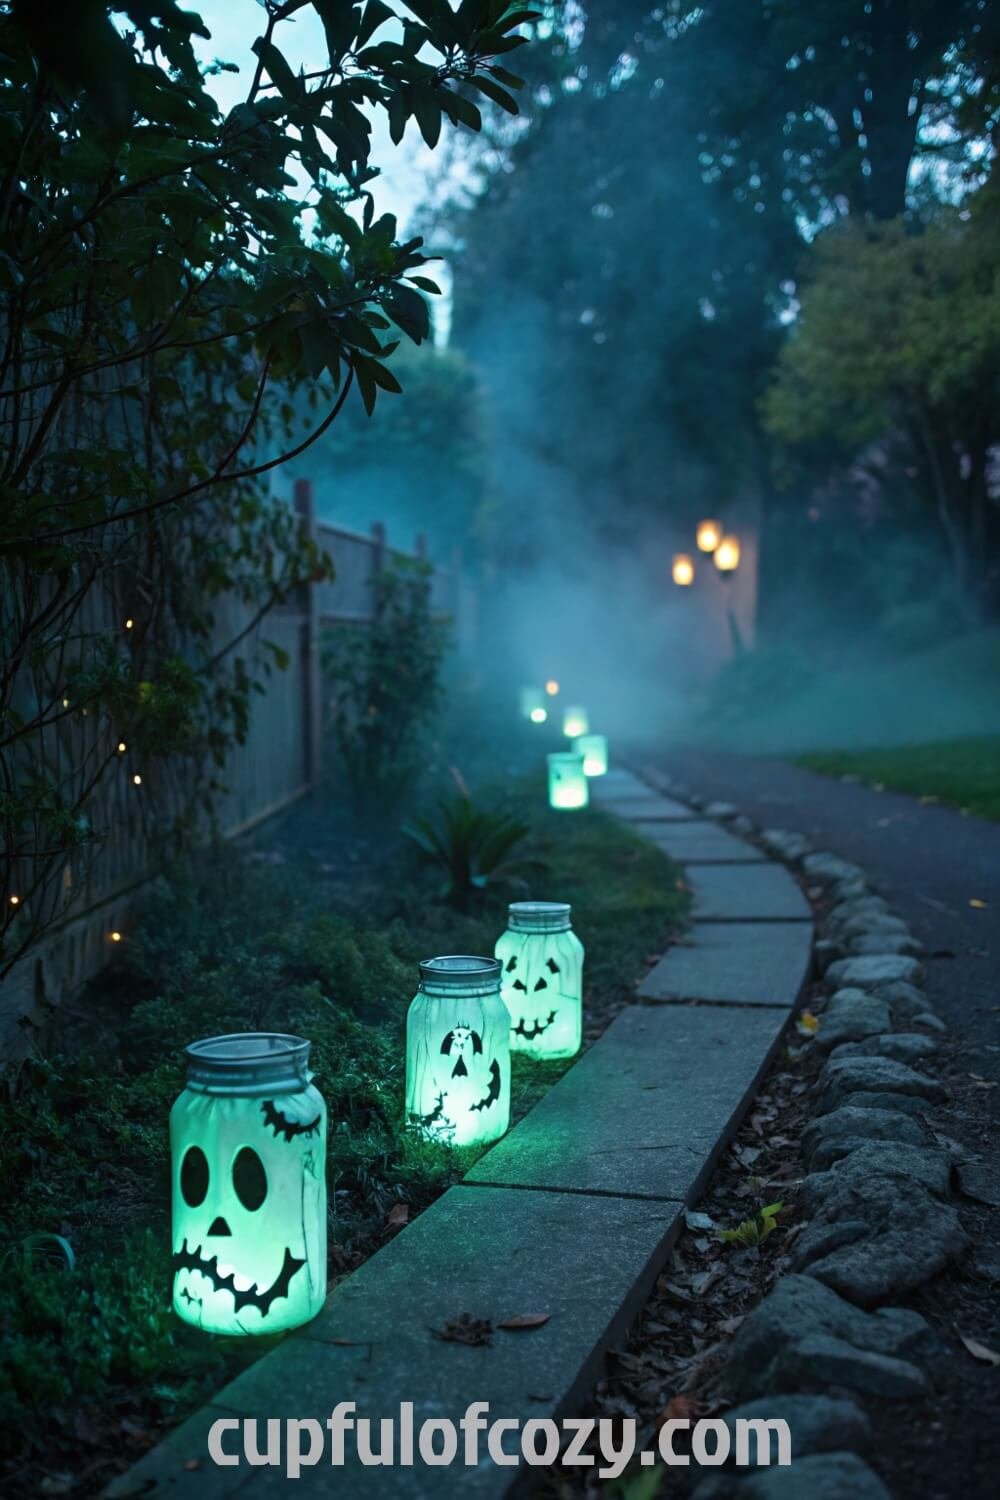
Glow-in-the-Dark Jars and Lanterns

Growing up, I was obsessed with anything that glowed in the dark. Glow sticks, those plastic stars for bedroom ceilings, that weird slime that came in tubes – if it glowed, I wanted it. So when I discovered glow-in-the-dark paint at the craft store, my inner eight-year-old basically did backflips.
Mason jars painted with glow-in-the-dark paint and simple Halloween designs look cute and understated during the day, then come alive after dark with this eerie green glow that makes people stop and stare. I paint spider webs, bat silhouettes, or ghostly faces using stencils because my freehand skills are questionable at best. Drop a glow stick or small LED inside for extra brightness, and you’ve got pathway markers that charge up from regular daylight and glow for hours.
Use Recycled Coffee Pods to Make Pumpkin Lights
Okay, so I have a serious coffee addiction. Like, borderline concerning levels of K-cup consumption that my bank account definitely notices. For the longest time, I felt guilty about all those little plastic pods ending up in the trash, but then I discovered they’re perfect for tiny Halloween decorations.
I hot-glue the pods together into pumpkin shapes, paint them orange, and add small LED tea lights inside. They’re delicate and detailed looking, perfect for clustering on steps or lining a short walkway. The plastic diffuses the light beautifully, and honestly, they look like something you’d find at an expensive boutique. Plus, now I feel less guilty about my coffee habit because I’m giving those pods a second life.
Creepy Doll Face Pathway Lights
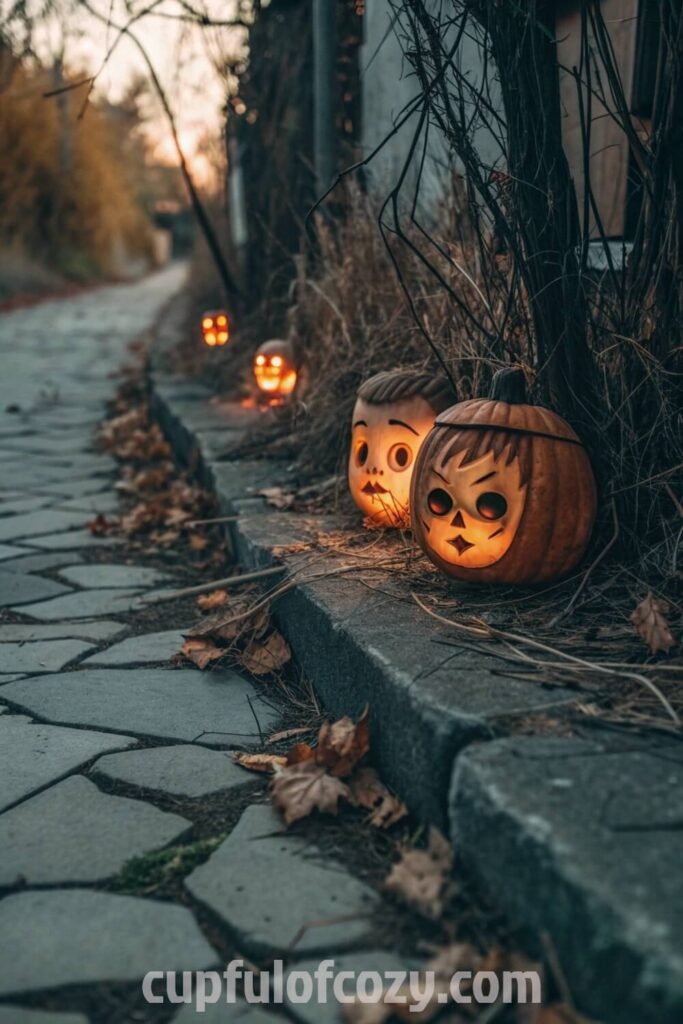
I need to warn you upfront: this project isn’t for everyone. But if you’re going for serious haunted house vibes, this is your moment to shine. I found a bag of old doll heads at a thrift sale (because apparently that’s a thing people donate), and the cashier looked at me like I was planning something deeply disturbing.
When you put battery-operated lights inside these doll heads, the glow comes through their faces in this incredibly unsettling way that’s pure nightmare fuel in the best possible sense. My brother refuses to visit in October specifically because of these lights. Last year, a teenager dressed as a vampire took one look at my doll head pathway and noped right back to the street. Mission accomplished.
Combine LED String Lights and Creative Containers
Sometimes the simplest ideas are the most genius, and this is one of those times. LED string lights inside any interesting container creates instant ambiance. I’ve used pickle jars, old planters, clear storage boxes, even my grandmother’s vintage mixing bowls that I inherited but never actually cook in.
The key is choosing containers that create interesting light patterns. Clear glass gives you clean, bright light, while textured containers create these beautiful shadow patterns on the ground. Mason jars are classic, but don’t sleep on unusual shapes. That weird geometric vase you got as a wedding gift and never knew what to do with? Perfect Halloween light housing.
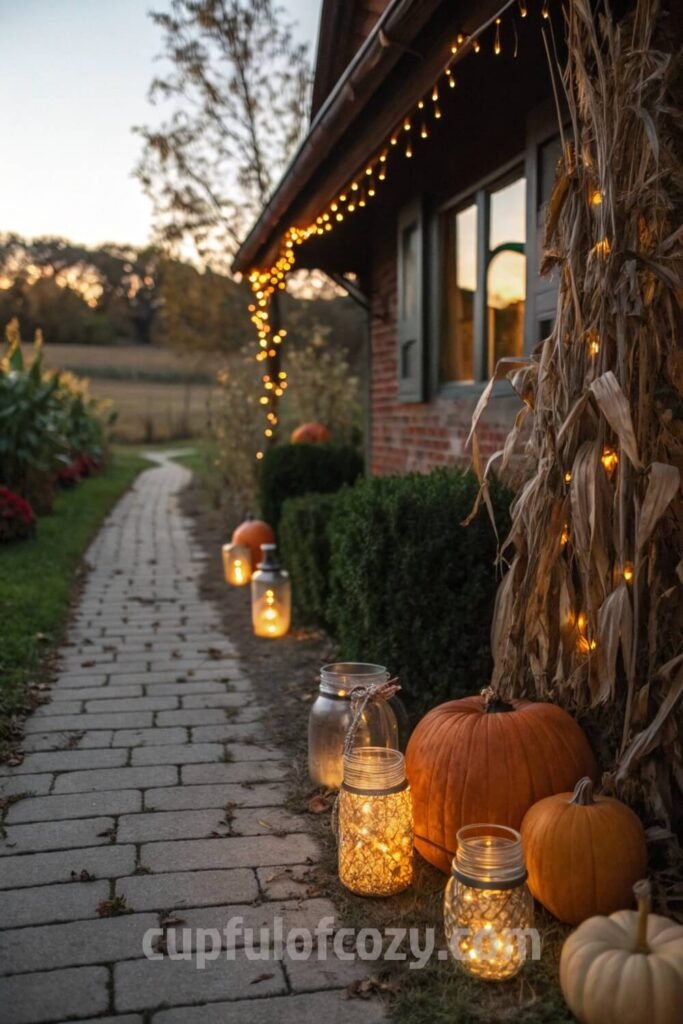
Solar Powered Pumpkin Garden Lights from Recycled Items
TikTok convinced me to try this one, and I’m not even ashamed about it. The algorithm knew exactly what would get me: cheap, easy Halloween decor that looks expensive. You take plastic pumpkin pails, drop in solar garden lights, and suddenly your pathway looks like something from a professional haunted attraction.
The solar aspect means no electric bill spike in October, no hunting for outdoor outlets, and no rain-soaked extension cords to deal with. These lights are bright enough that people actually slow down when they drive by, and I’ve had multiple neighbors ask for tutorials. The best part? You can adjust the brightness and timing on most solar lights, so you can customize exactly how your display looks.
Make Prism-Shaped Pumpkin Lights with Recycled Plastic

This project came from my weird obsession with geometric shapes and too much time spent looking at modern art installations. I stack and glue clear plastic containers – think takeout containers, storage boxes, anything with interesting angles – into pyramid shapes, then paint them orange or add pumpkin details.
When you put lights inside, the geometric facets create these incredible light patterns that dance and shift across the ground. It’s like having tiny disco balls, but Halloween-themed and way cooler than that sounds. These lights look seriously expensive and modern, the kind of thing you’d expect to find at some trendy design store.
Repurpose Thrifted Lamps for Gothic Halloween Lighting
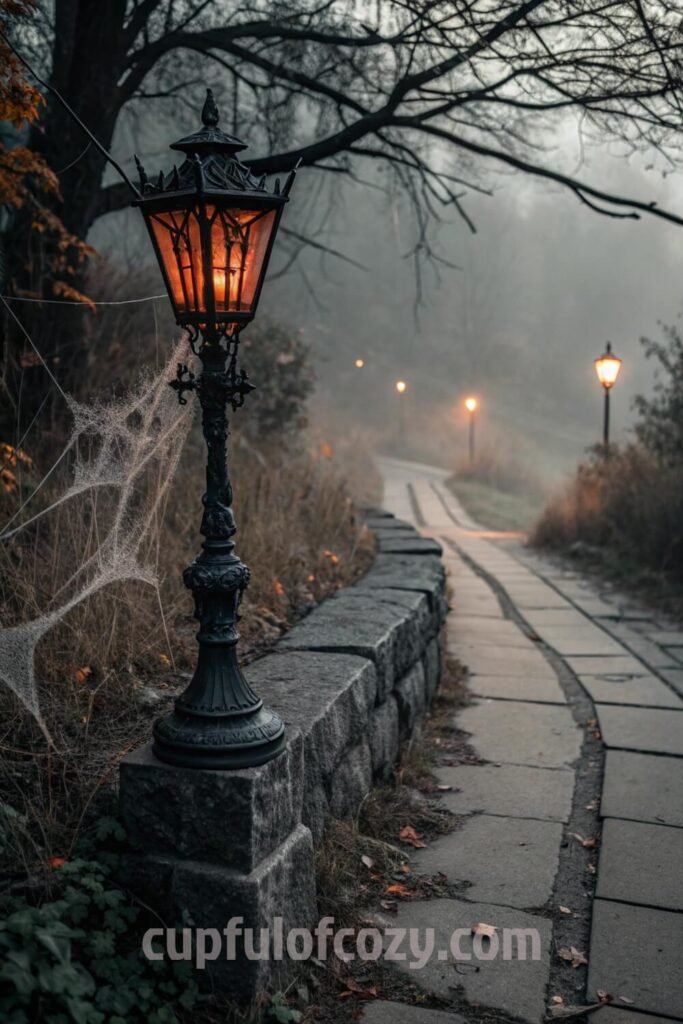
Thrift stores are where old lamps go to wait for their glow-up, and I am here for it. I hunt for lamps with interesting shapes – the weirder and more ornate, the better. A few coats of matte black paint and maybe some gothic details turn them into these dramatic pathway fixtures that belong in a Victorian mansion.
My best find was this ceramic swan lamp that I painted matte black and placed on my front steps. At night, with a colored bulb inside, it looks like something from a haunted ballroom. The lamp base gives you stability that regular pathway lights don’t have, and you can use any bulb type you want for different effects.
Use Colorful LED Bulbs for Toxic or Haunted Glow
Sometimes the smallest changes make the biggest impact, and swapping regular bulbs for colored LEDs is one of those game-changing moments. Sickly green, deep purple, blood red – these colors turn any ordinary fixture into something wonderfully spooky.
I learned this trick from my neighbor who works in theater lighting. The colored light doesn’t just illuminate, it creates atmosphere. Green makes everything look poisonous and otherworldly, purple gives you that mysterious witch vibe, and red is pure horror movie ambiance. Use these in your existing outdoor fixtures, and suddenly your whole house looks like it belongs in a different realm.
What I love most about all these projects is how they let your personality shine through. My pathway tells a story now – it’s quirky and creative and a little bit weird, just like me. When kids trick-or-treat at my house, they’re getting an experience that’s completely unique because I made it with my own hands using things that would have ended up in the recycling bin anyway.
Halloween decorating doesn’t need to cost a fortune to be incredible. Sometimes the most beautiful lights come from seeing potential in everyday objects and having the patience to turn that vision into reality. Plus, there’s something deeply satisfying about creating something wonderful from materials that cost practically nothing.
Related posts:
10 Scrap-Friendly Snowman Placemat Ideas Using Leftover Fabric That Make Perfect Gifts for Friends &...
9 Budget-Friendly DIY Jolly Holly Cards with Stamped and Embossed Designs Using Dollar Store Supplie...
12 Cozy Fall Birthday Scrapbook Layout Ideas with Warm Color Palettes
12 Amazing Ways To Use Christmas Balls and Ornaments In Holiday Decor
- Before buying anything online, check Rakuten (formerly Ebates) — either with the browser extension or directly on Rakuten.com. Just type in your store, click the current deal, and shop as usual. Every purchase earns you cashback that can be mailed to you or sent via PayPal. In today’s economy, even a few dollars back can turn into a Starbucks latte, McDonald’s fries for the kids, or a little treat you don’t have to budget for. If you’ve never used Rakuten before, you’re missing out on free money — and right now, you’ll even get a $30 bonus when you spend your first $30. Click here to sign up and stop letting your online orders steal from you. Click here to sign up and save money!
*Disclosure: This post includes affiliate links. I may earn a small commission if you join Rakuten through my link — but it doesn’t cost you anything extra. In fact, you’ll actually save more!