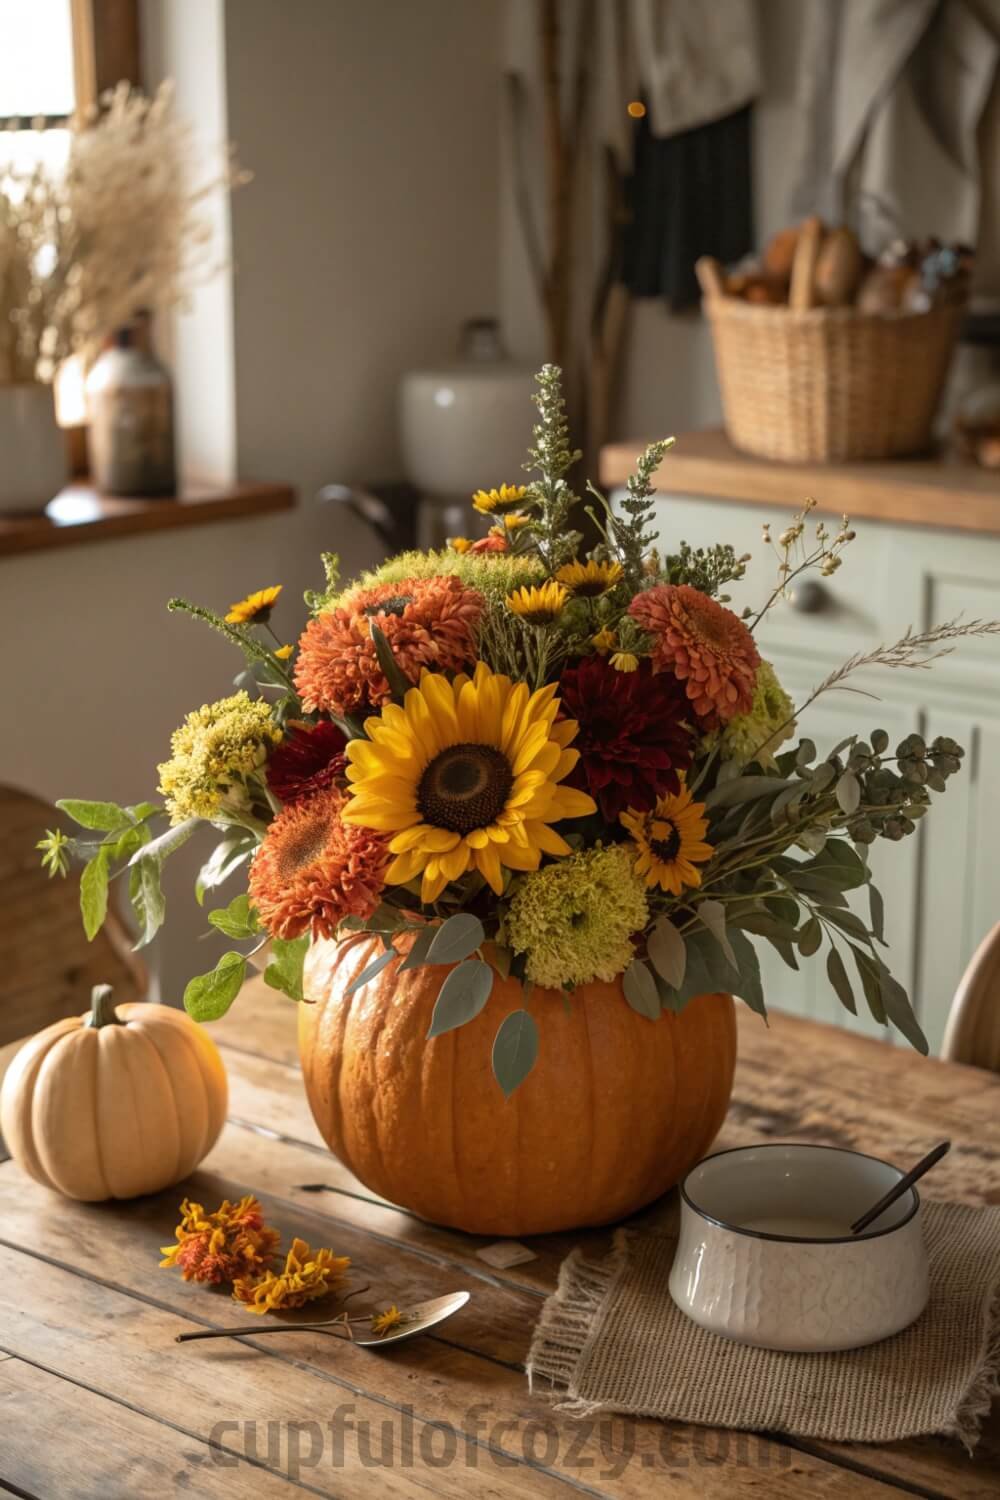
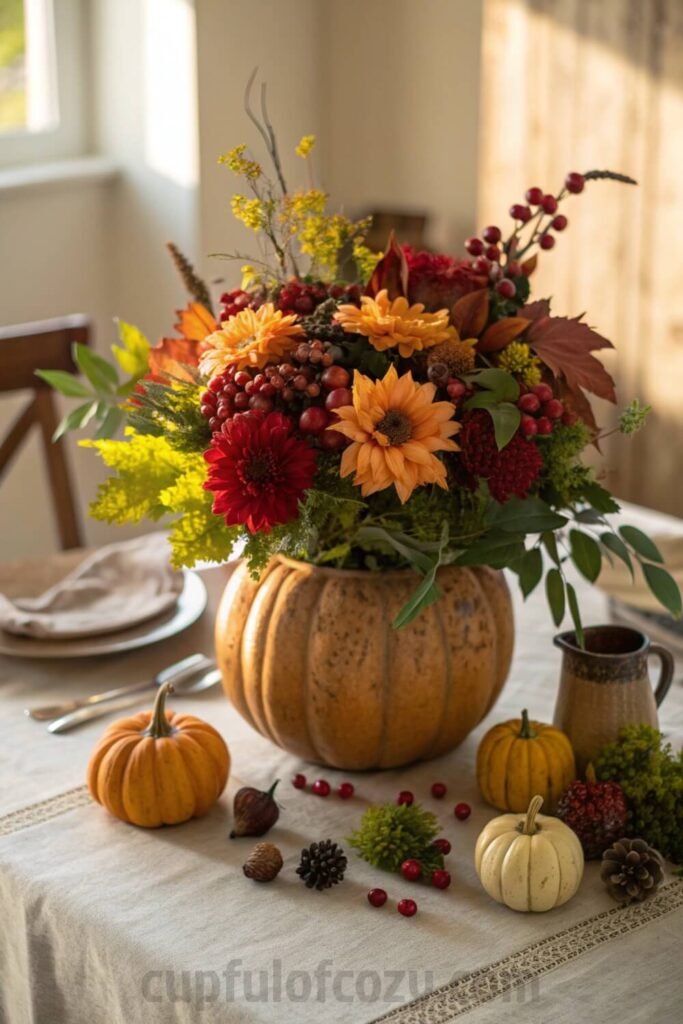
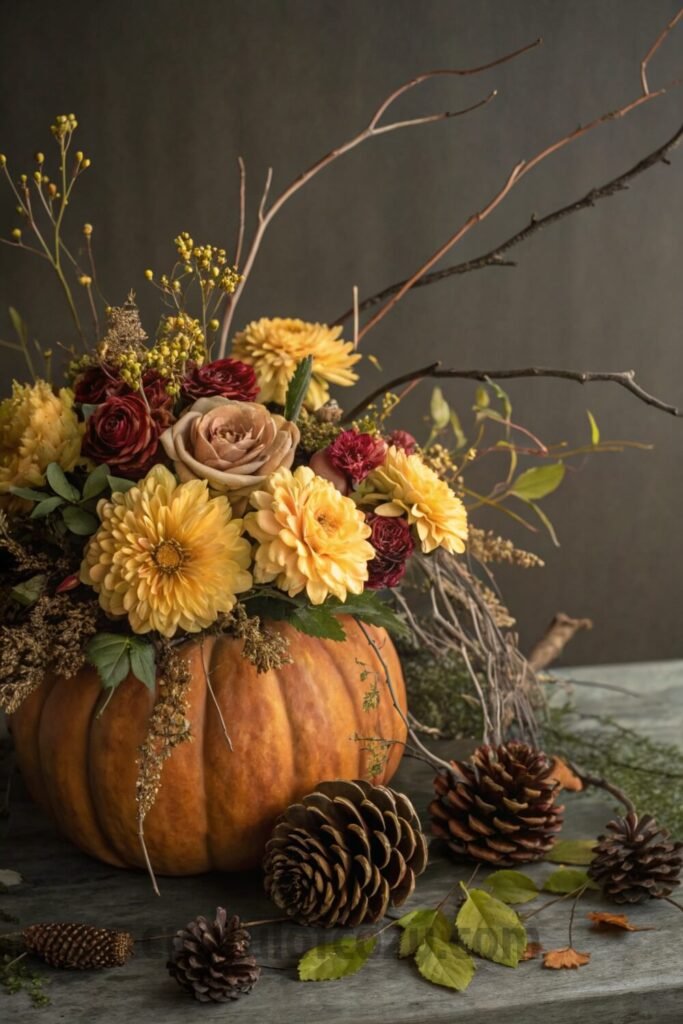
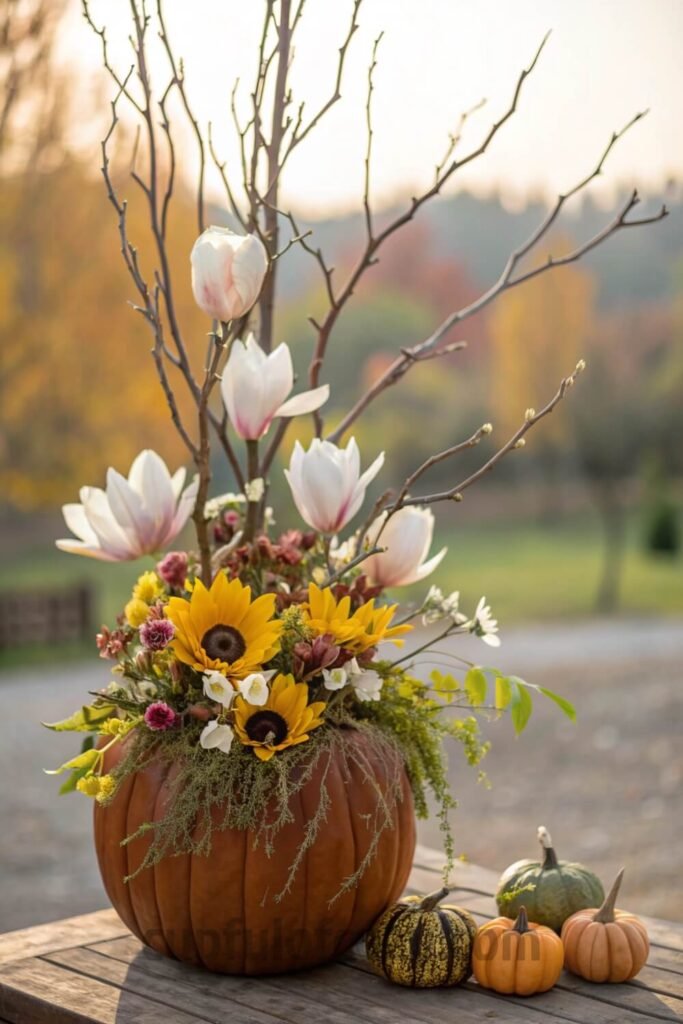
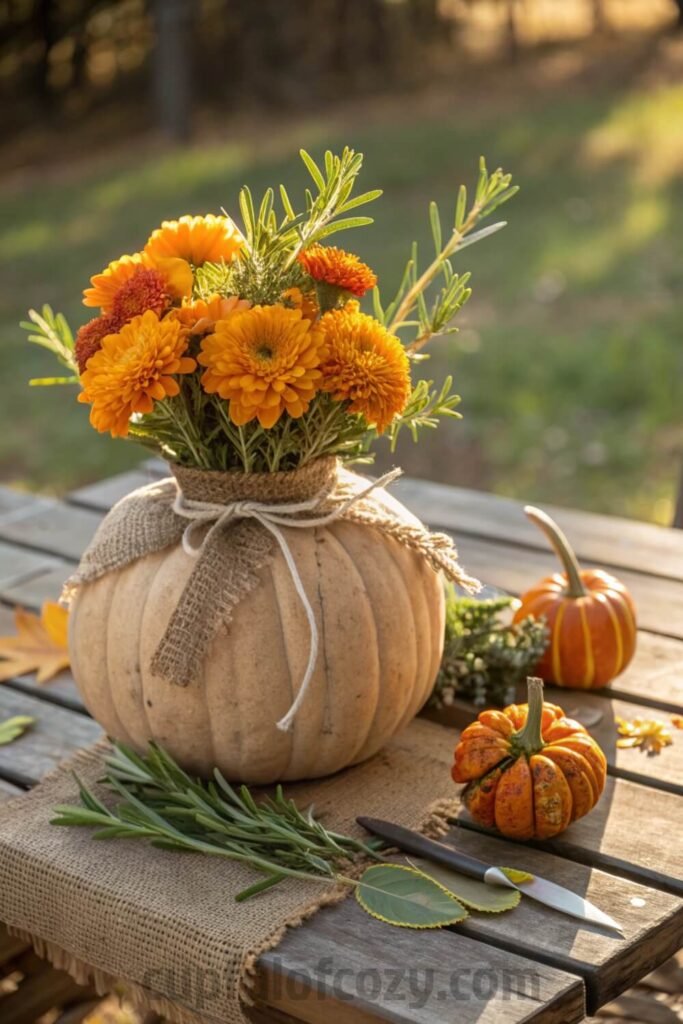
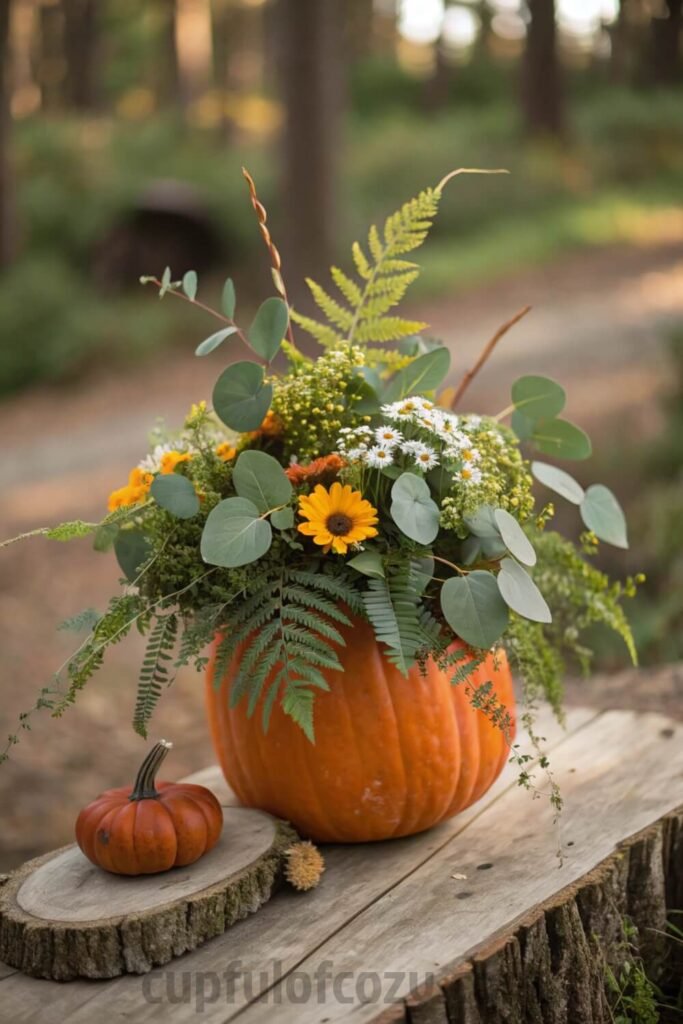
Okay, so last week I was scrolling through Pinterest at 2 AM (we’ve all been there), and I came across this gorgeous rustic Thanksgiving arrangement that literally made me sit up in bed. But then I saw the price tag at the fancy flower shop downtown — $85! For ONE centerpiece! I was like, “Nah, I can totally make this myself.”
And honestly? It was so much easier than I thought. I’m talking 10 minutes, maybe 15 if you’re being extra perfectionist about it. My cousin Sarah came over the next day and was like, “Where did you buy this?” When I told her I made it, she literally didn’t believe me until I showed her the leftover supplies still sitting on my kitchen counter.
What You’ll Need (And No, You Don’t Need to Break the Bank)
Here’s the thing about this project — you probably already have half this stuff lying around. I used a medium pumpkin from the grocery store (the kind that’s perfectly imperfect, you know?), and honestly, the slightly lopsided one worked even better because it gave it that authentic rustic vibe.
Your shopping list:
- One small to medium pumpkin with a flat bottom (I went real, but faux works too if you want to reuse it next year)
- A decent knife to cut the top open
- Floral foam block if you’re using a real pumpkin — trust me on this one
- Flower clippers or just some good scissors
- Fresh seasonal blooms — I went with sunflowers because they’re so cheerful, plus some burgundy mums and white roses
- Greenery like eucalyptus (smells amazing, by the way) or whatever looks good at the store
- Natural stuff for texture — pine cones, little mini pumpkins, some moss, berries
The whole haul cost me maybe $25, and I had enough leftover flowers to make a smaller arrangement for my kitchen windowsill.
The Actual Process (Seriously, It’s That Simple)
Step 1: Cut that pumpkin top wide enough to fit your flowers. Don’t stress about making it perfectly round — wonky looks more natural anyway.
Step 2: If you’re using a real pumpkin like I did, stuff some water-soaked floral foam inside. For faux pumpkins, you can just fill with water or use some chicken wire rolled into a ball.
Step 3: Start with your greenery as the base. I used eucalyptus because it smells like a spa and gives you that full, lush look without much effort. Just stick it in at different angles.
Step 4: Add your showstopper flowers — for me, it was those big, happy sunflowers. Play with heights here. Some tall, some shorter. It shouldn’t look like a military lineup.
Step 5: Fill in those gaps with your smaller blooms. I used roses and some little filler flowers I grabbed at the last minute.
Step 6: Here’s where it gets fun — add your rustic bits. Pine cones tucked around the edges, maybe some berries draped over the side. Let some of that greenery spill over the pumpkin edge like it’s growing wild.
The Secret Sauce (AKA Design Tips That Actually Matter)
The color palette is everything, babe. Think warm and cozy — oranges, deep yellows, burgundy, forest greens. Basically, imagine a perfect fall day and pull colors from that.
Mix your textures like you’re styling an outfit. Soft flower petals with rough pine cone scales, smooth pumpkin skin with feathery grasses. It’s all about that contrast.
And here’s something I learned from my grandma who always had the most beautiful garden — asymmetry is your friend. Don’t make everything the same height or evenly spaced. Nature isn’t symmetrical, and that’s what makes it gorgeous.
Pro tip: If you want to go extra (and why wouldn’t you?), wrap some burlap or twine around the base of your pumpkin. I found some at the craft store for like $3, and it adds that perfect farmhouse touch.
Ways to Make It Your Own
The best part about this whole project is that it’s basically impossible to mess up. I’ve seen my friend Lisa make one with white painted faux pumpkins that looked like something from a magazine. Super modern but still rustic, if that makes sense.
You could add some flowering branches if you want height and drama. Or go totally rogue with your color choices — coral and lime green for a funky fall vibe, or deep purples with gold accents.
My neighbor mixed live flowers with some dried elements, and hers literally lasted through the entire holiday season. Smart woman.
The thing is, this isn’t just about following a recipe. It’s about creating something that feels like you. Maybe you add some elements that remind you of home, or colors that make you happy, or textures that feel good under your fingers while you’re arranging.
When Thanksgiving rolls around and everyone’s gathered around your table, they’re going to be looking at this beautiful centerpiece that you made with your own hands. And trust me, there’s something really special about that. It’s not just decoration — it’s a little piece of your creativity and care right there in the middle of all the gratitude and good food.
Plus, at 10 minutes start to finish, you’ll have time left over to actually enjoy the day instead of stressing about the details. And isn’t that what the holidays should really be about?
Related posts:
7 Fall Porch Decorating Mistakes You're Probably Making (and How to Fix Them)
How to Style Throw Blankets Like a Designer (Without Spending Extra)
11 Last-Minute Thanksgiving Tiered Tray DIY Dollar Tree Ideas for Busy Hosts
9 Fall Garland On Curtain Rod Ideas That Won’t Shed or Tangle And Instantly Cozy Up the Space
- Before buying anything online, check Rakuten (formerly Ebates) — either with the browser extension or directly on Rakuten.com. Just type in your store, click the current deal, and shop as usual. Every purchase earns you cashback that can be mailed to you or sent via PayPal. In today’s economy, even a few dollars back can turn into a Starbucks latte, McDonald’s fries for the kids, or a little treat you don’t have to budget for. If you’ve never used Rakuten before, you’re missing out on free money — and right now, you’ll even get a $30 bonus when you spend your first $30. Click here to sign up and stop letting your online orders steal from you. Click here to sign up and save money!
*Disclosure: This post includes affiliate links. I may earn a small commission if you join Rakuten through my link — but it doesn’t cost you anything extra. In fact, you’ll actually save more!

