Let me paint you a picture: It’s three weeks before Halloween, you’ve promised to host the party this year, and you’re standing in your living room staring at blank walls like they personally offended you. Sound familiar? Because girl, that was literally me two months ago, and I was having a full-on panic attack about it.
Here’s what nobody tells you about hosting parties as an adult: everyone expects your place to look like those Pinterest boards, but nobody mentions that most of those setups require either a) a trust fund, b) serious DIY skills that include knowing which end of a drill to hold, or c) the ability to put actual holes in walls without your landlord hunting you down.
I’m a renter, I’ve got the decorating skills of a particularly untalented potato, and my toolkit consists of a screwdriver that came with my IKEA bookshelf and whatever’s in my kitchen junk drawer. Plus, let’s be real: I’m not about to drop my entire grocery budget on decorations I’ll use for one night and then stuff in a closet until next year.
But you know what I discovered? Some of the most stunning Halloween backdrops don’t require a single power tool, won’t destroy your security deposit, and can be put together while binge-watching your favorite show. I’m talking about tricks that’ll make your friends think you hired a decorator, when really you just got creative with stuff from Target and the hardware store.
I’ve tested all of these ideas in my own space (some more successfully than others: there’s a story about glitter spray paint that we don’t need to get into), and I’m about to share the absolute game-changers. These aren’t just crafts for the sake of crafting, they’re real solutions for real people who want their spaces to look incredible without the stress, the mess, or the massive expense.
Remember how I was freaking out last week about hosting that Halloween party and having literally ZERO decorating skills? Well, turns out I’m not completely hopeless after all. I’ve been experimenting with some seriously easy backdrop ideas that don’t require me to become Bob the Builder overnight, and I’m kind of obsessed.
You know me: I’m all about that renter life where drilling holes in walls makes me break out in hives. But girl, I found some tricks that’ll make your space look like you hired a whole decorating team, and the best part? No power tools required. Just you, some basic supplies, and maybe a glass of wine for moral support.
Why Your Halloween Party Deserves a Killer Backdrop (Even on Zero Budget)
Look, I used to think backdrops were just for people with too much time and money, but I was so wrong. A good backdrop doesn’t just make your party look better, it literally changes the entire energy of your space.
Think about it: when people walk into a room with a thoughtfully designed backdrop, they immediately know you put effort into their experience. It’s like the difference between throwing snacks on paper plates versus actually setting the table: same food, completely different vibe.
Plus, and this is huge: a backdrop gives everyone a focal point for photos. Instead of awkward mirror selfies or weird angles trying to hide the pile of mail on your counter, your guests have this gorgeous spot that makes every picture look intentional and festive. Your Instagram stories are going to be fire, trust me.
But here’s what really sold me: these backdrops create conversation. People notice them, they ask about them, they want to know how you made them. Suddenly you’re not just hosting a party, you’re creating an experience that people remember and talk about later.
The Little Details That Make All the Difference (But Everyone Forgets)
- Before you hit “buy” on your next decor order, there’s a free 10-second step you should never skip: checking Rakuten (Ebates). I simply find the store name, click the deal, and shop like normal, and Rakuten sends me real cashback! Prices keep climbing everywhere, but this is one way to get a little back on the things you were going to purchase anyway. New members even get a $30 bonus when they spend $30 — which means your first order could pay you back instantly. Don’t miss out again. Click here to sign up and save money!
*Disclosure: This post includes affiliate links. I may earn a small commission if you join Rakuten through my link — but it doesn’t cost you anything extra. In fact, you’ll actually save more!
So you’ve got your backdrop planned, but let me share some things I learned the hard way that’ll save you from those “oh crap” moments.
First up: lighting is everything, and I mean everything. Your beautiful backdrop can look totally flat and boring under harsh overhead lights. I learned to turn off the main lights and use lamps, string lights, or even candles to create that moody Halloween atmosphere. It makes such a difference in photos too: everything looks more mysterious and intentional.
Here’s another thing nobody mentions: test your tape situation beforehand. Not all painter’s tape is created equal, and some of it will either not stick at all or stick too well and peel your paint when you remove it. Do a small test patch in an inconspicuous spot a day before your party. Your future self will thank you.
And speaking of prep: have a backup plan for hanging things. Command strips fail sometimes, tape gives up, stuff falls down. Keep some backup adhesive options handy, and maybe recruit a friend with steady hands to help with the higher spots. I learned this when my beautiful streamer arrangement fell down right as the first guests arrived.
One more thing I wish someone had told me: take progress photos as you go. Not just for the gram, but because sometimes you’ll want to recreate something later, or you’ll realize halfway through that you liked how it looked three steps ago. Plus, it’s fun to see the transformation happen.
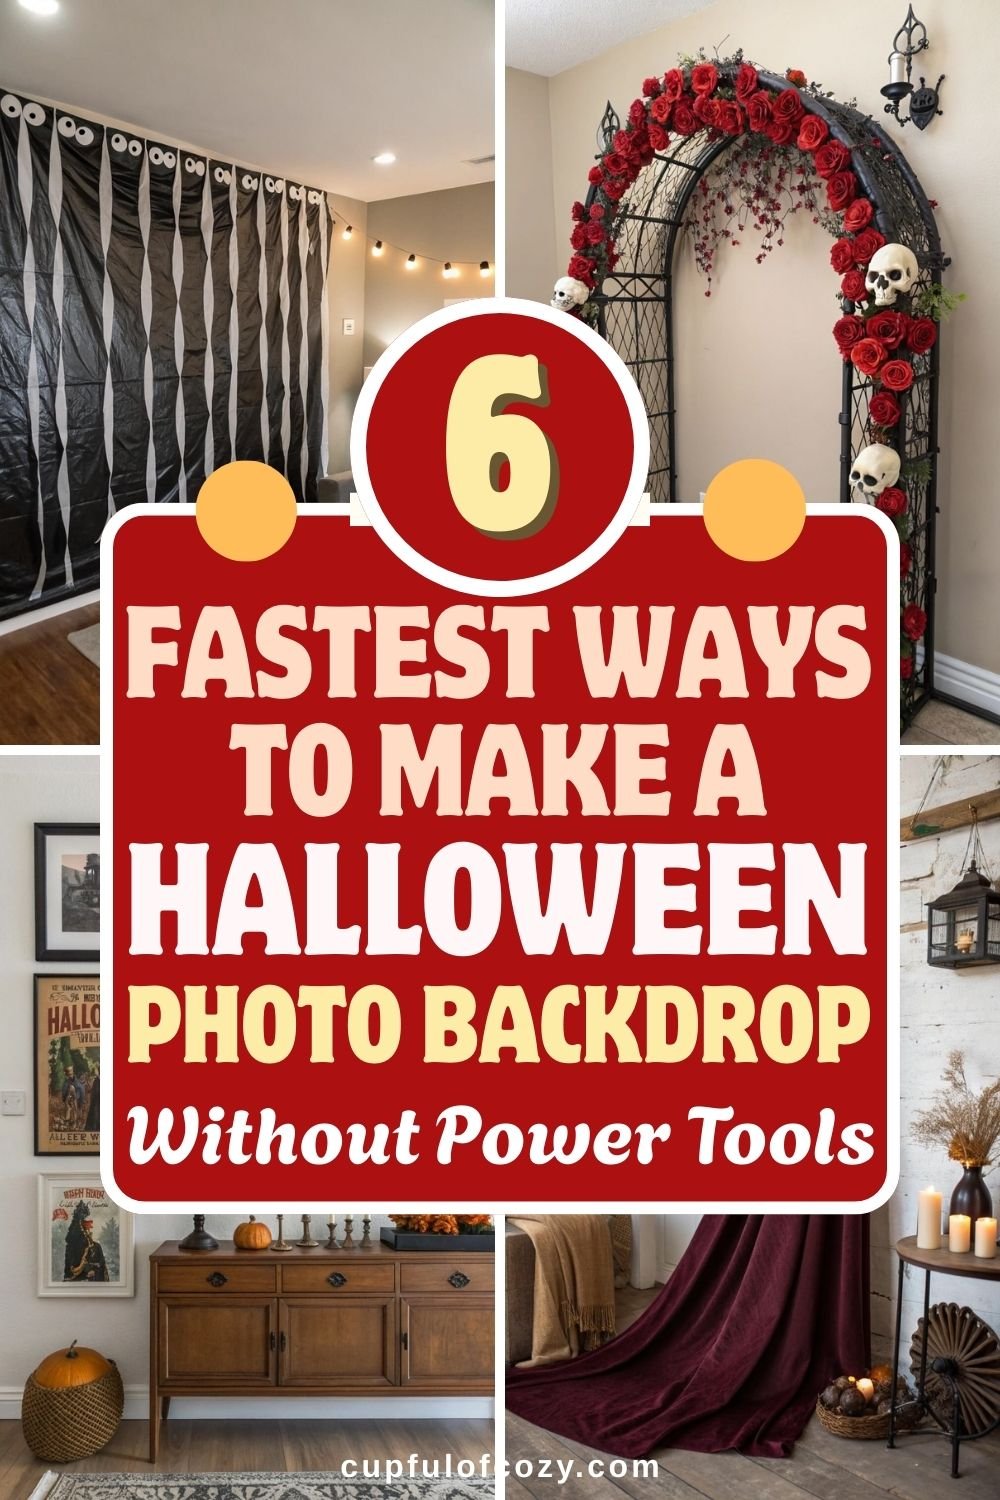
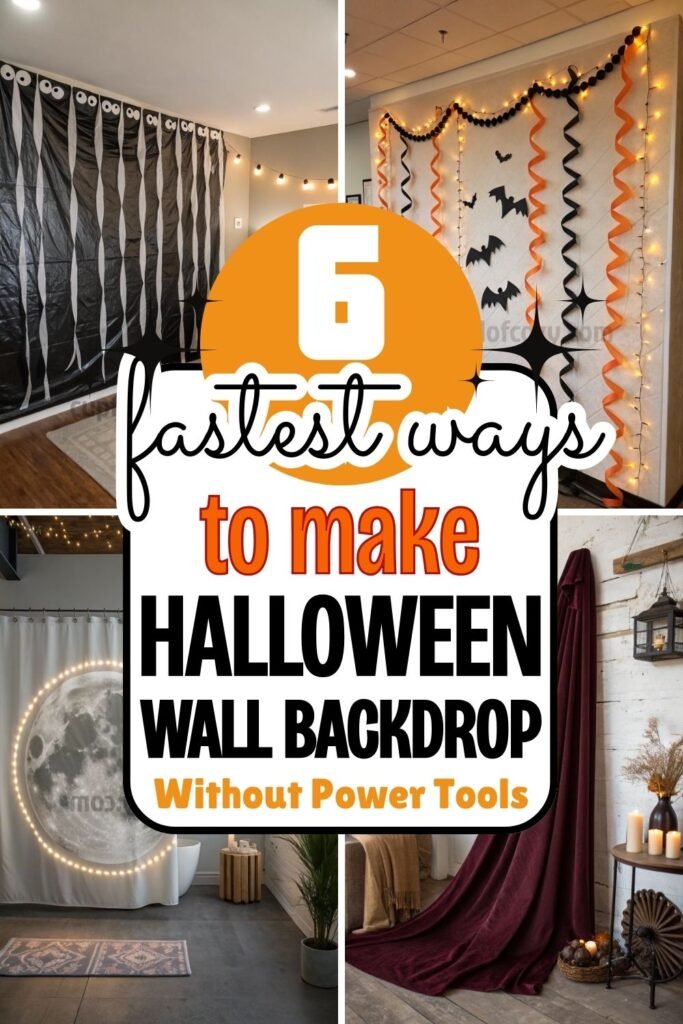
1. The Plastic Tablecloth Magic Trick
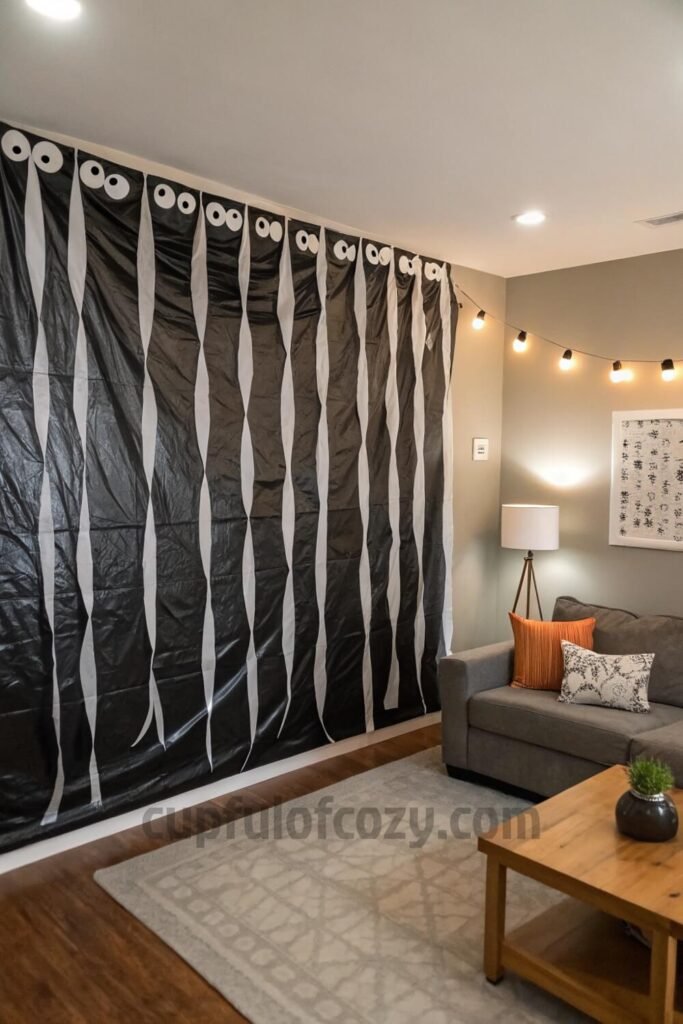
Plastic tablecloths are basically the unsung heroes of party decorating. I discovered this when I was at Target grabbing last-minute stuff and saw these gorgeous black vinyl tablecloths in the Halloween section. Something just clicked, you know?
Here’s what you do: grab those Halloween-themed plastic tablecloths (or just solid black ones if you wanna keep it classy) and tape them straight to your wall with painter’s tape. I’m talking about the good painter’s tape that won’t peel your paint off, learned that lesson the hard way in my first apartment.
Then comes the fun part: twist some white crepe paper streamers and let them cascade down. It gives this ethereal, ghostly vibe that’s so much cooler than it sounds. And those googly eyes? Girl, stick them everywhere with some basic craft glue. Suddenly your wall looks like it’s watching everyone, and it’s delightfully creepy.
The whole thing cost me maybe fifteen bucks and took twenty minutes. My cousin texted me asking if I hired someone because it looked so good in my Instagram story.
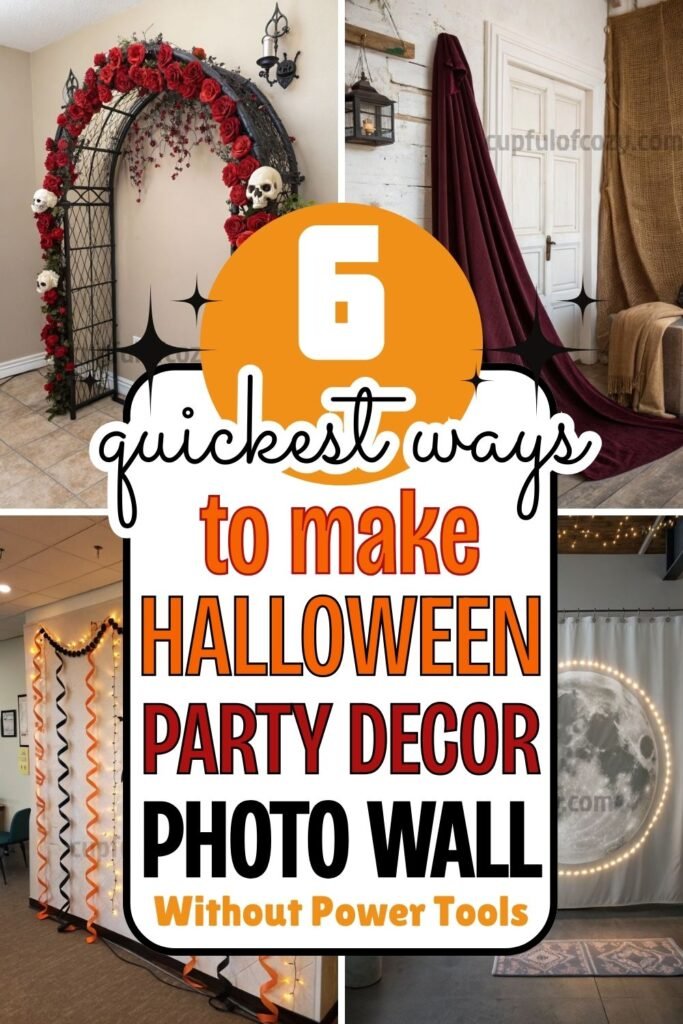
2. That Moody Fabric Moment
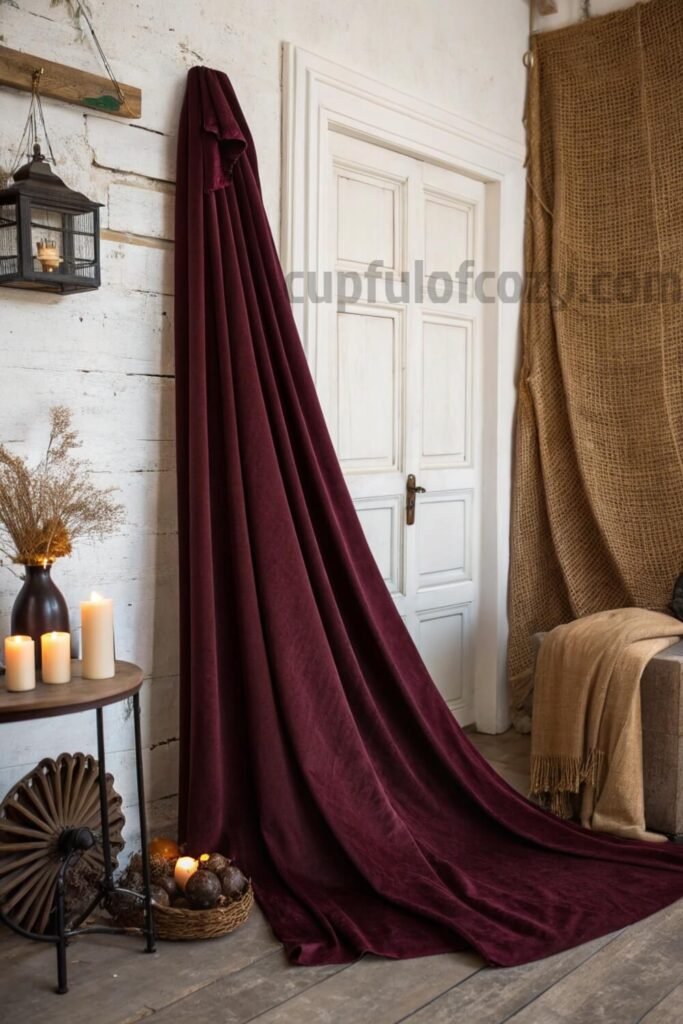
You know how sometimes you walk into those vintage shops downtown and there’s just this vibe? Dark, mysterious, a little romantic? That’s exactly what hanging some burlap or dark fabric against your wall will do for your space.
I got this idea from my neighbor who had this gorgeous deep burgundy fabric draped behind her couch. She wasn’t even trying to be spooky, it was just her aesthetic, but something about it screamed “Halloween elegance” to me.
The beauty is in the simplicity. You literally just hang dark-colored fabric or burlap against the wall, maybe drape it over some furniture if you’re feeling fancy. No cutting, no measuring, just pure vibes. I used some command strips and a few pieces of painter’s tape, and boom: instant gothic sophistication.
It’s like giving your room a whole personality makeover without committing to anything permanent. Plus, you can totally reuse the fabric for other parties or just keep it up if you’re into that moody aesthetic year-round.
3. The Chicken Wire Arch That Looks Way Harder Than It Is
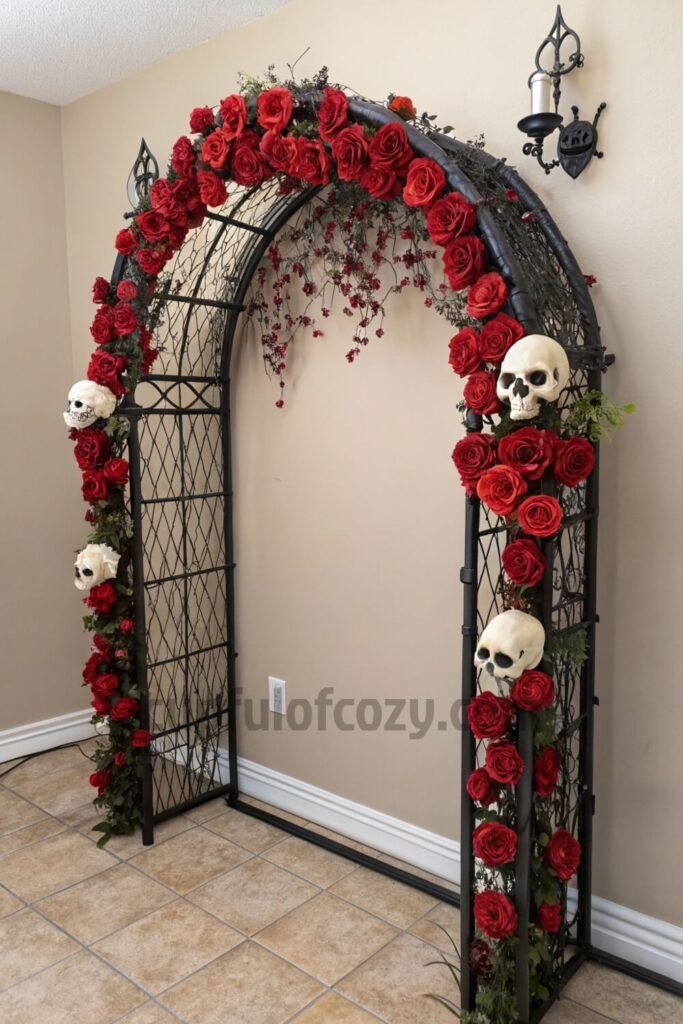
This one sounds intimidating, but stick with me because it’s actually genius. I saw something similar at this haunted house attraction last year, and I couldn’t stop thinking about how dramatic it looked.
You’re basically creating this gothic arch using chicken wire and PVC pipe. The PVC becomes your frame, and you attach the chicken wire with zip ties: no fancy tools needed, just your hands and maybe some pliers if you want to get fancy.
Then here’s where it gets fun: spray paint everything black and add some glitter spray paint for that mystical shimmer. I found these artificial roses, plastic skulls, and foam bones at the dollar store and just zip-tied them onto the wire. The contrast between the romantic roses and the spooky skulls? Chef’s kiss.
Mount it to your wall with some basic hooks and maybe some decorative tiebacks if you want it to look more intentional. The whole thing has this Victorian gothic vibe that makes your space feel like a movie set.
4. Foam Core Boards: Your New Best Friend

This one’s perfect if you’re working with a smaller space or just want to create a focal point without overwhelming everything. I learned about foam core boards from my art teacher friend who swears by them for literally everything.
For smaller areas, use the foam core as your base. For bigger walls, those vinyl tablecloths work perfectly. Then you tape streamers along the top and twist them as they fall down, it creates this beautiful cascading effect that photographs wonderfully.
The googly eyes and other embellishments go on with glue dots or one of those tacky glue pens. I love how customizable this is: you can make it as subtle or as extra as your heart desires. Last weekend I added some plastic bats and tiny LED string lights, and it looked like something straight out of Pinterest.
5. The Art Print Photo Booth Situation

This idea came to me when I was scrolling through Instagram and saw how everyone’s doing these elaborate photo booth setups. But like, who has time and money for all that professional stuff?
Instead, I grabbed a bunch of Halloween-themed art prints and posters: some vintage movie posters, some spooky illustrations, a few gothic photographs I printed from Pinterest. Arranged them on the wall in this organic, gallery wall style, and suddenly I had this super cool backdrop that doubled as a photo booth.
What gets me excited about this approach is adding themed props. I raided the thrift stores for vintage frames, fake candles, plastic pumpkins, and even found this incredible old mirror that looked perfect. People were taking photos in front of it all night, and everyone kept asking where I got my “professional setup.”
6. The Pex Tubing Circle Frame That Blew My Mind
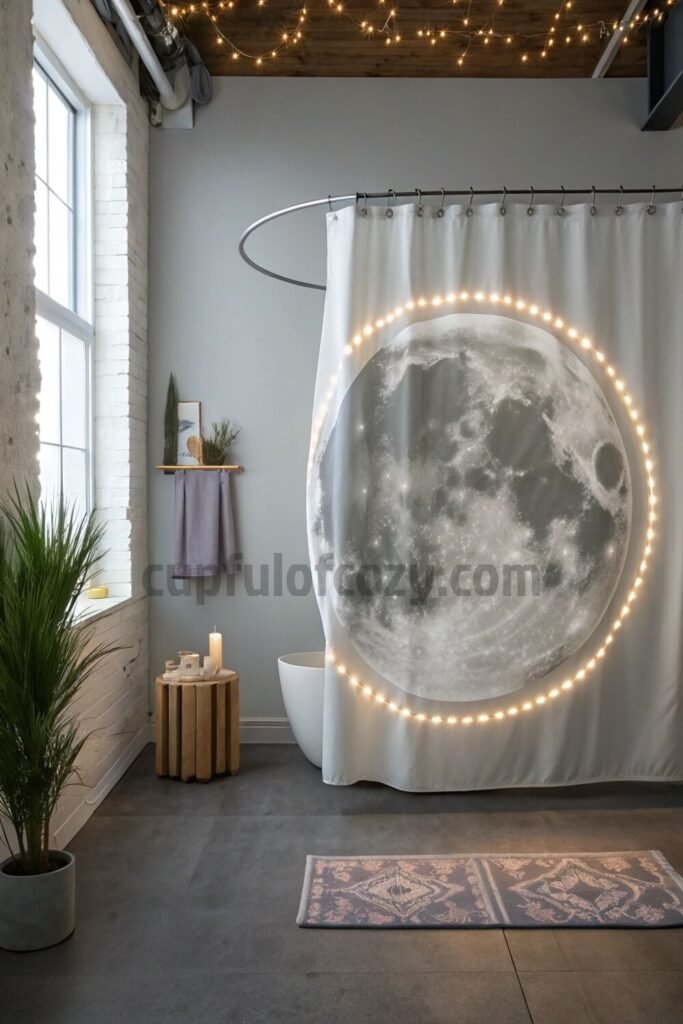
This last one is a bit more involved, but it’s still totally doable without any power tools, and the result is so worth it. I got inspired by those trendy circular hanging art pieces you see everywhere.
You cut pex tubing with a manual saw (or ask someone at the hardware store to do it for you, they’re usually super helpful). Then you create this circular frame and stretch a vinyl shower curtain over it. I found this gorgeous moon-pattern one that was perfect for Halloween.
Staple the curtain to the frame: no power tools, just a regular stapler, and hang the whole thing on your wall. It creates this low-profile art piece that looks so much more expensive than it actually was. If you want to get really fancy, add some LED backlighting behind it for this ethereal glow effect.
The whole thing gives major celestial Halloween vibes, like witch meets modern art installation. I’m thinking about keeping mine up year-round because it’s just that pretty.
Personal FAQ
Q: Girl, be honest, how long do these actually take to put together?
A: The plastic tablecloth situation? Literally 20 minutes if you’re not being a perfectionist about it. The fabric backdrop is even faster: maybe 10 minutes tops. The arch takes the longest at maybe 45 minutes to an hour, but that’s because you’re zip-tying decorations and getting creative with the spray paint. I always tell people to plan for about double whatever time they think it’ll take, just because you’ll probably want to step back and adjust things a few times. And honestly? Half the time goes to standing back and admiring your work.
Q: What if my walls are textured or weird? Will tape actually stick?
A: Oh honey, my apartment has that awful popcorn texture on some walls, so I totally get this struggle. For textured walls, I swear by the heavy-duty painter’s tape: the blue stuff, not the flimsy beige kind. Sometimes I’ll use a combination of tape and Command strips for extra security. And if your walls are really rough, the fabric backdrop option is your best friend because you can drape it in a way that doesn’t require perfect adhesion. Worst case scenario, you can always create a freestanding backdrop using a room divider or even the back of your couch as support.
Q: I’m renting and my landlord is super strict about wall damage. Are these actually safe?
A: Totally get this anxiety because I’ve been there. I always do the 24-hour tape test first: put a small piece of your chosen tape in a corner behind furniture and leave it for a full day, then remove it to see how your paint reacts. For extra peace of mind, I stick to Command strips for anything heavy and use the gentlest painter’s tape I can find for lightweight stuff. The fabric draping method is probably your safest bet since it barely requires any wall contact. I’ve used all these techniques in three different rental apartments with zero damage, but definitely trust your gut about what feels right for your specific situation.
Q: Can I reuse any of this stuff for other parties or just regular decor?
A: Yes! This is actually one of my favorite things about these ideas. That dark fabric backdrop? Perfect for any moody dinner party or even just as regular wall art if you’re into that aesthetic. The PVC arch can be redecorated for literally any holiday: I’ve seen people use the same frame structure for Christmas garland, birthday streamers, even wedding decorations. The foam core boards are great for any party theme, and those art prints can stay up year-round if you choose them right. I’m actually keeping my circular frame piece up permanently because it just looks like modern art now that Halloween’s over.
Final thoughts

Listen, the point is you don’t need to be Martha Stewart or have a garage full of power tools to create something wonderful for Halloween. Sometimes the best ideas come from just looking at what you have around you differently and being willing to experiment a little.
These backdrops aren’t just decorations, they’re conversation starters, photo opportunities, and little confidence boosters because you made something beautiful with your own hands. Plus, your landlord won’t hate you, your bank account won’t cry, and you’ll have the satisfaction of knowing you created something incredible without breaking a sweat.
Now go forth and make your space spooky, gorgeous, and totally Instagram-worthy. Your Halloween party guests are going to be so impressed, and you can just smile mysteriously and act like you’re naturally this creative. I won’t tell if you won’t.
- Before buying anything online, check Rakuten (formerly Ebates) — either with the browser extension or directly on Rakuten.com. Just type in your store, click the current deal, and shop as usual. Every purchase earns you cashback that can be mailed to you or sent via PayPal. In today’s economy, even a few dollars back can turn into a Starbucks latte, McDonald’s fries for the kids, or a little treat you don’t have to budget for. If you’ve never used Rakuten before, you’re missing out on free money — and right now, you’ll even get a $30 bonus when you spend your first $30. Click here to sign up and stop letting your online orders steal from you. Click here to sign up and save money!
*Disclosure: This post includes affiliate links. I may earn a small commission if you join Rakuten through my link — but it doesn’t cost you anything extra. In fact, you’ll actually save more!