
Do you know how heartbreaking it is when you spend forever picking out the perfect pumpkin, only to have it turn into a mushy mess three days later? Like, I’m not trying to have my front porch looking like a pumpkin graveyard before Halloween even hits!
Last year I learned this lesson the hard way when my gorgeous jack-o’-lantern basically melted into itself by October 25th. My neighbor walked by and was like “cute… sculpture?” I was mortified! But this year? This year I’m coming prepared with all the tricks my auntie taught me plus some new ones I picked up from this master gardener I met at the farmers market.
Start With the Right Pumpkin (Because Not All Pumpkins Are Created Equal)
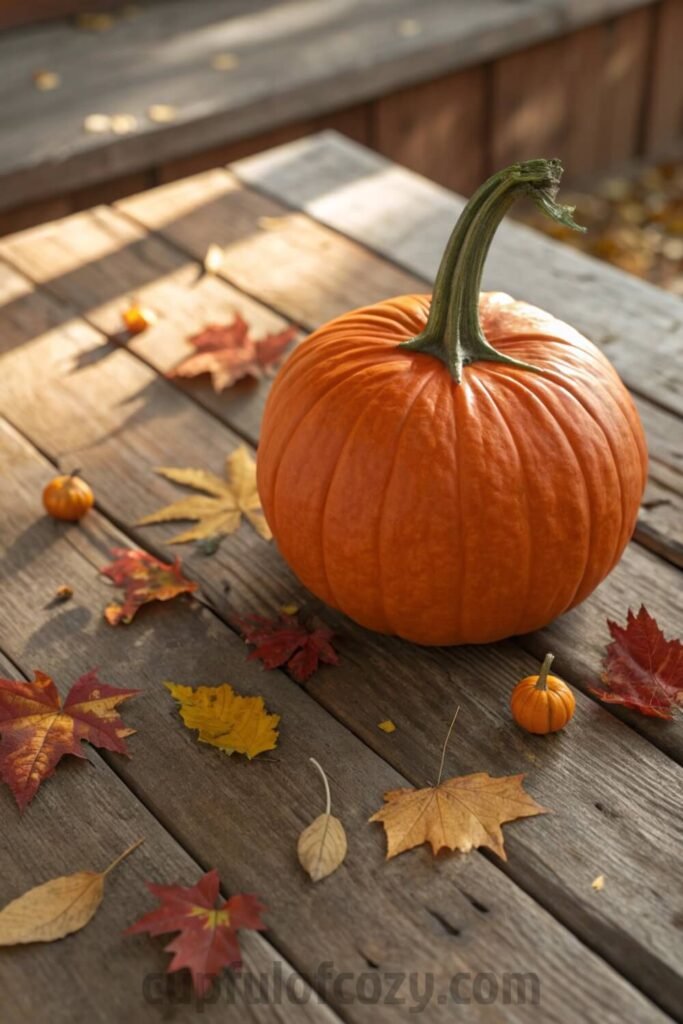
Okay, first things first – you gotta be picky at the pumpkin patch. I know it’s tempting to grab the first cute one you see, but hear me out. You want a pumpkin that feels like it could survive the apocalypse. I’m talking hard stem (not one of those sad, bendable ones), no soft spots that feel like tiny bruises, and a shell so shiny it practically blinds you.
The stem is everything, babe. If it’s broken or feels squishy, just keep walking. That’s basically like buying a house with a leaky roof – it’s gonna cause problems later. Mature pumpkins with that gorgeous, hard shell are your best friends here. They’re the ones that’ll stick around long enough to actually see Halloween night.
The Art of Pumpkin Surgery (AKA Carving Smart)
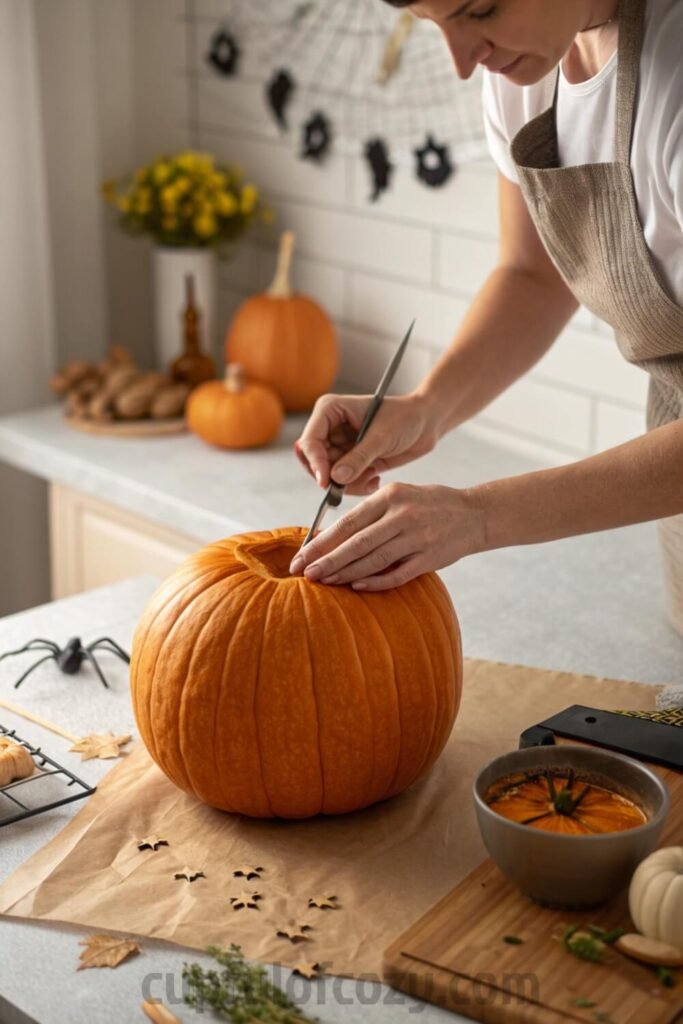
Here’s where most people mess up, and honestly, I used to be one of them! Everyone automatically cuts the top off, but plot twist – cutting from the bottom or back is where it’s at. This way you keep that precious stem intact, which is like keeping the pumpkin’s lifeline connected.
When you’re scooping out all the guts (which, let’s be real, is oddly satisfying), get every single seed and stringy bit out. I mean EVERY. BIT. Those leftover pieces are basically mold magnets, and nobody has time for that funky smell wafting from their porch.
After you’ve hollowed it out, this is where it gets a little science-y but stick with me. Mix up some bleach and water (like a tablespoon of bleach per gallon of water) and give the inside a good wipe down. If you’re not into bleach, peppermint soap works too and smells way better. My cousin swears by this method – she’s been doing Halloween decorations for her kids for like fifteen years and her pumpkins always look fresh.
Pro tip that changed my life: don’t touch your pumpkin with oily hands! The oils from your skin actually speed up the rotting process. I learned this after eating pizza and then immediately handling my pumpkin. Rookie mistake.
Preservation (The Good Stuff)

Alright, this is where we get into the real preservation wizardry. Before you even think about carving, give your pumpkin a little spa day with a bleach bath. Just dunk it in that same bleach solution for a few minutes, then let it dry completely.
If you’re team natural (which I totally get), vinegar or diluted hydrogen peroxide work just as well. The vinegar smell goes away pretty quick, promise.
- Before you hit “buy” on your next decor order, there’s a free 10-second step you should never skip: checking Rakuten (Ebates). I simply find the store name, click the deal, and shop like normal, and Rakuten sends me real cashback! Prices keep climbing everywhere, but this is one way to get a little back on the things you were going to purchase anyway. New members even get a $30 bonus when they spend $30 — which means your first order could pay you back instantly. Don’t miss out again. Click here to sign up and save money!
*Disclosure: This post includes affiliate links. I may earn a small commission if you join Rakuten through my link — but it doesn’t cost you anything extra. In fact, you’ll actually save more!
Here’s something wild I discovered last year: silica gel packets! You know those little packets that come in new shoes or bags? Don’t throw them away! Toss a few inside your carved pumpkin to soak up moisture. Game changer.
For the carved edges, this might sound weird, but petroleum jelly or even a little vegetable oil keeps them from drying out and getting all wrinkly. Just dab it on the cut edges with a cotton swab.
And if you really want to go all out, there are these clear acrylic sprays made specifically for pumpkins. Or – and this is gonna sound crazy but trust me – a light spray of WD-40 on the outside keeps it hydrated and gives it this amazing shine. My dad suggested this one (he uses WD-40 for everything), and I was skeptical until I tried it.
Storage is Everything
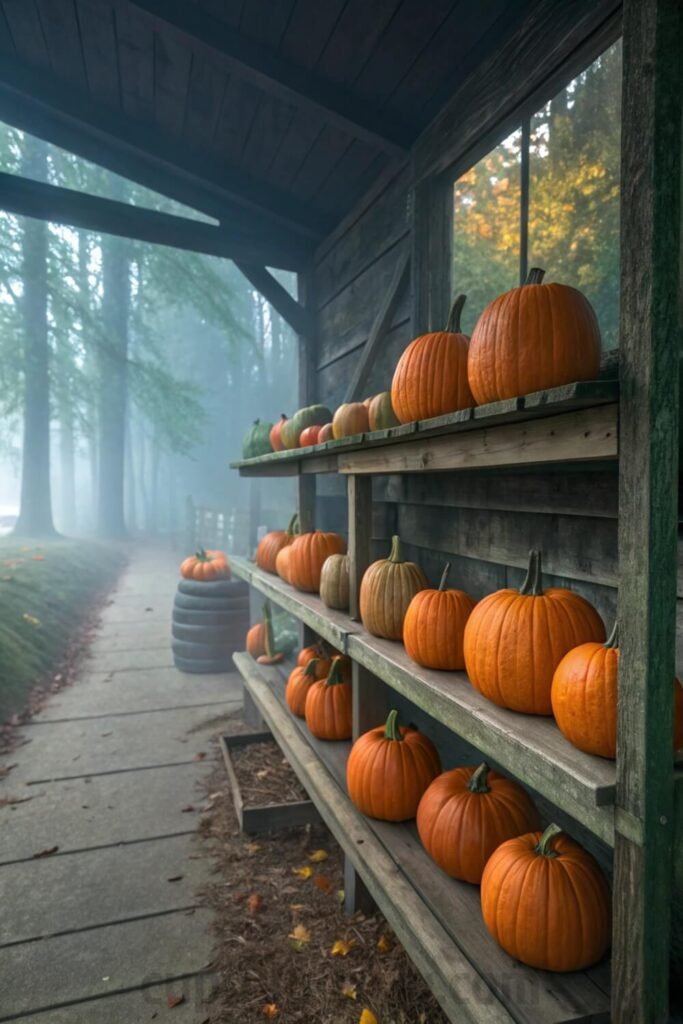
Location, location, location! Your pumpkins need a cool, dry spot with good airflow. Think garage, basement, or that shady corner of your porch – basically anywhere that doesn’t get direct sunlight all day. Heat is the enemy here.
If you’re trying to keep them fresh for more than a few days, overnight fridge trips wrapped in plastic can work wonders. Just don’t let them freeze because that’s basically a death sentence for pumpkins.
Lighting That Won’t Cook Your Pumpkin
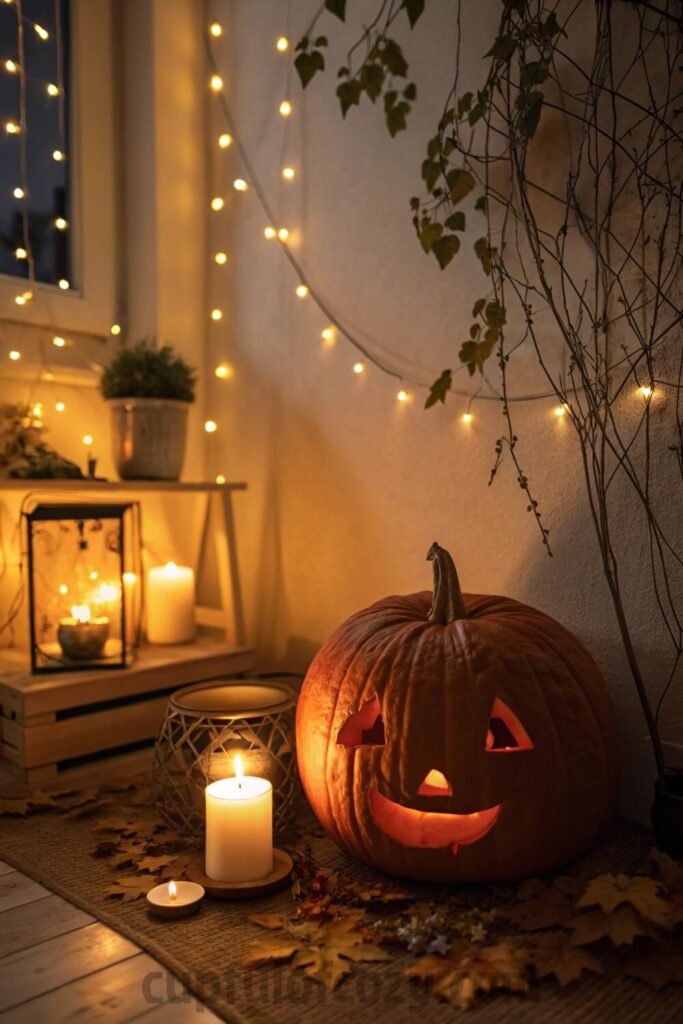
Real candles look gorgeous, but they’re basically tiny ovens inside your pumpkin. Those battery-operated LED candles are where it’s at. They come in all these cool colors now, and some even flicker like real flames. Plus you don’t have to worry about forgetting to blow them out before bed.
Think Outside the Carving Box
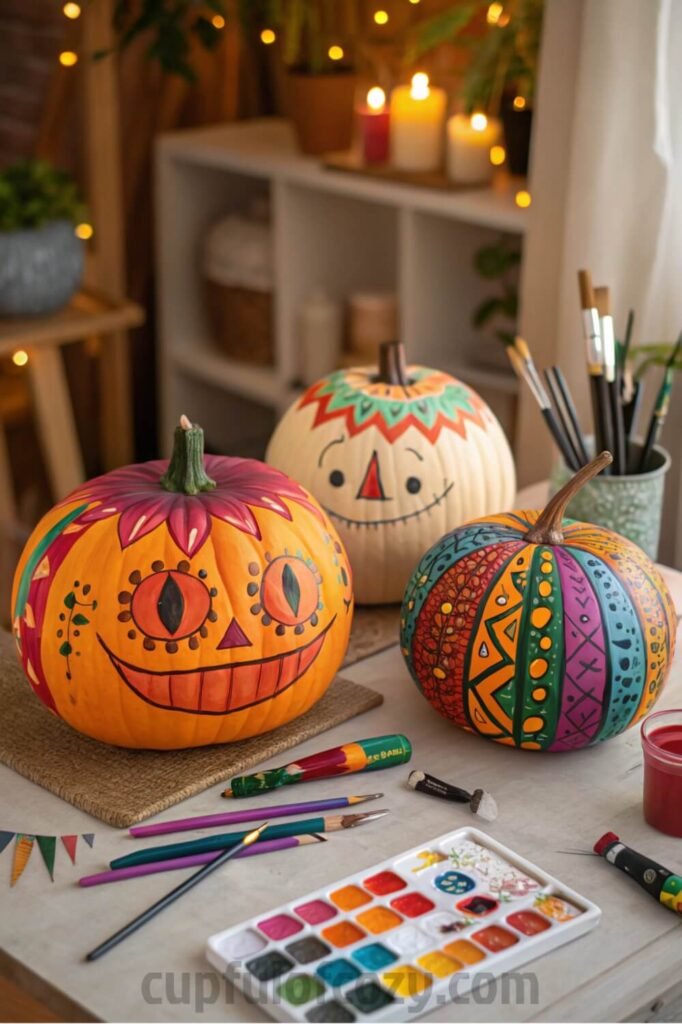
Sometimes the best way to keep a pumpkin fresh is just… not carving it at all. Painted pumpkins are having such a moment right now, and they last SO much longer. I saw this gorgeous ombre pumpkin display at my friend’s house last year – all painted in different shades of dusty pink and gold. Absolutely stunning and still looked perfect in November.
When Your Pumpkin Needs a Pick-Me-Up
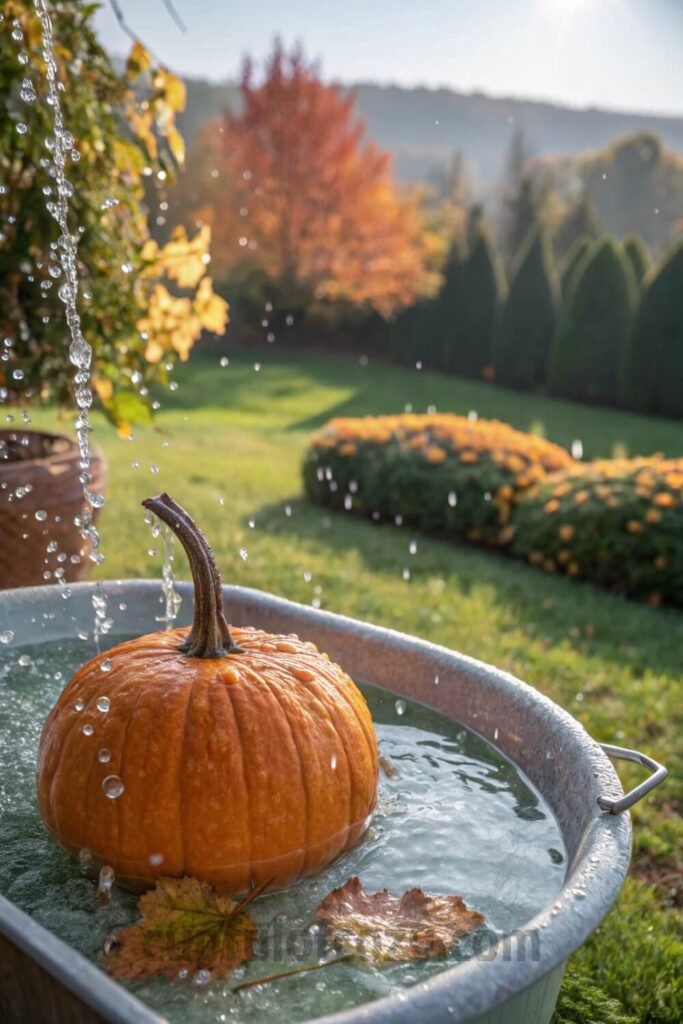
If your pumpkin starts looking a little sad, an ice bath can sometimes bring it back to life. Fill up a big bucket with cold water and ice, and let your pumpkin soak for about an hour. It’s like a spa treatment! Just don’t do this more than once because it can stress the pumpkin out.
After the Halloween Magic Ends
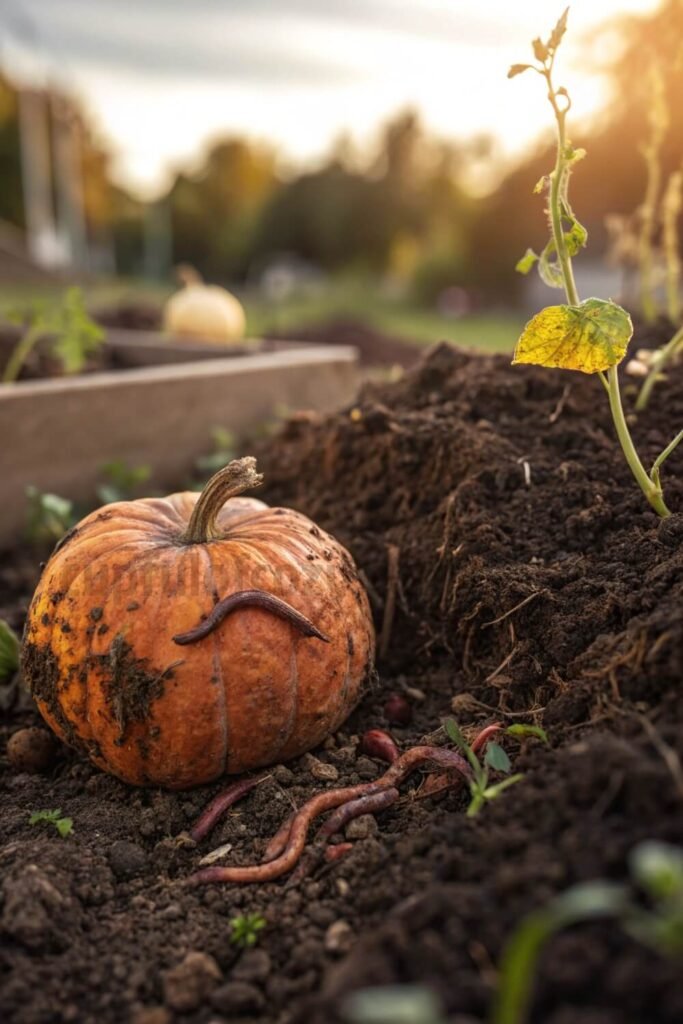
Don’t just toss those pumpkins in the trash when Halloween’s over! Composting them is such a beautiful way to give back to the earth. My grandma always said pumpkins make the soil so rich and happy for next year’s garden. If you don’t have a compost bin, lots of communities have composting programs now.
The thing is, keeping pumpkins fresh isn’t rocket science, but it does take a little love and attention. Kind of like most things worth doing, you know? But when Halloween night comes and your porch is glowing with perfect jack-o’-lanterns while your neighbors are dealing with pumpkin mush, you’ll feel like the Halloween queen you were always meant to be.
Trust me on this one – your future self will thank you for putting in the effort. And honestly? There’s something so satisfying about outsmarting nature just a little bit and keeping that autumn magic alive just a little longer.
Related posts:
12 Fun Vintage-Inspired Halloween Crafts for a Mother-Daughter Craft Night
How to Make Your Small Porch Look Grand for the Holidays
12 Chic & Spooky Halloween Coffee Bar Station for Small Spaces That Your Guests Will Love
10 Space-Saving One Wall Kitchen with Island in Small Kitchen to Maximize Storage
- Before buying anything online, check Rakuten (formerly Ebates) — either with the browser extension or directly on Rakuten.com. Just type in your store, click the current deal, and shop as usual. Every purchase earns you cashback that can be mailed to you or sent via PayPal. In today’s economy, even a few dollars back can turn into a Starbucks latte, McDonald’s fries for the kids, or a little treat you don’t have to budget for. If you’ve never used Rakuten before, you’re missing out on free money — and right now, you’ll even get a $30 bonus when you spend your first $30. Click here to sign up and stop letting your online orders steal from you. Click here to sign up and save money!
*Disclosure: This post includes affiliate links. I may earn a small commission if you join Rakuten through my link — but it doesn’t cost you anything extra. In fact, you’ll actually save more!