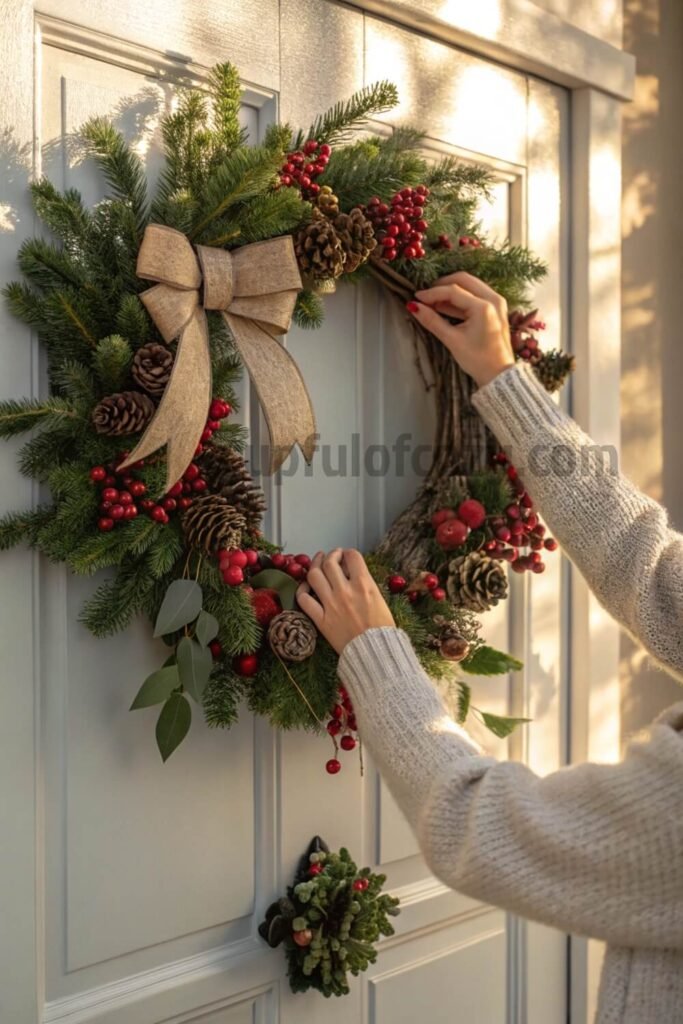
I’ve been doing this wreath refresh thing for four years now, and people always compliment my “new” wreath every season, not knowing it’s the same base I’ve been working with since 2020. The secret sauce is knowing which parts to keep, what to toss, and how to make everything look intentional instead of… well, like you were just trying to save money.
So if you’re sitting there with a sad wreath situation and a tight budget, this is your sign to give it one more chance. Because I promise you, by the end of this, you’re going to look at that wreath completely differently.
Why Your Old Wreath Deserves a Second Chance
Look, I get it: it’s so much easier to just buy something new and shiny. But here’s the thing that changed my whole perspective: that “old” wreath probably has better bones than anything you’ll find in stores right now.
Most store-bought wreaths these days are made to look good for one season and then fall apart. But if your wreath made it through a whole holiday season and storage, that means the base is solid. That’s literally the expensive part! Everything else, the ribbons, the ornaments, the little decorative bits, that’s all just surface-level stuff that you can totally change.
Plus, and this might sound weird, but there’s something really meaningful about keeping the same wreath base going year after year. It becomes part of your family’s story. Like, this wreath has seen three of my nephew’s Christmases, two moves, and that disaster year when my cat knocked it down twice. It’s got history.
And you know what? In a world where everything feels disposable, taking time to refresh something instead of replacing it just feels good. It’s sustainable, it’s creative, and it gives you that smug satisfaction when people ask where you got such a unique wreath and you get to say “I made it myself.”
The Little Details That Make All the Difference
You know what I see people mess up all the time with DIY wreaths? They focus on the big, obvious stuff and totally miss the tiny things that make a wreath look professional versus homemade.
Like, everyone thinks about changing the ribbon and maybe adding some new ornaments. But they forget about things like making sure all the stems are hidden, or that the spacing between decorations actually makes sense. I’ve seen so many wreaths where someone just stuck stuff wherever there was room, and it ends up looking chaotic instead of intentional.
Here’s something I learned the hard way: test your color combinations in different lighting before you commit. That ribbon that looked perfect under your kitchen lights might look completely different in the natural light by your front door. I once spent two hours on a wreath only to hang it up and realize the colors totally clashed with my door. Learn from my mistakes!
And the biggest thing people miss? The proportion game. Your decorations should vary in size: some big statement pieces, some medium filler, and some tiny detail work. All the same size anything just looks flat and boring.
Start Fresh by Taking It All Apart
First thing: don’t be scared to completely disassemble that thing. I know it feels weird at first, like you’re destroying something, but trust me on this. Carefully pull off all the old ornaments, ribbons, and any decorations that are looking rough. Keep the good stuff in a bowl so you don’t lose anything.
- Before you hit “buy” on your next decor order, there’s a free 10-second step you should never skip: checking Rakuten (Ebates). I simply find the store name, click the deal, and shop like normal, and Rakuten sends me real cashback! Prices keep climbing everywhere, but this is one way to get a little back on the things you were going to purchase anyway. New members even get a $30 bonus when they spend $30 — which means your first order could pay you back instantly. Don’t miss out again. Click here to sign up and save money!
*Disclosure: This post includes affiliate links. I may earn a small commission if you join Rakuten through my link — but it doesn’t cost you anything extra. In fact, you’ll actually save more!
My mom always used to say “sometimes you gotta break it down to build it back up,” and she was talking about life, but it totally applies to wreaths too. The base wreath itself might still be perfectly fine, especially if it’s one of those wire frame ones. Sometimes all the “ugliness” is just in the old decorations that have seen better days.
Dollar Store is a Real Deal
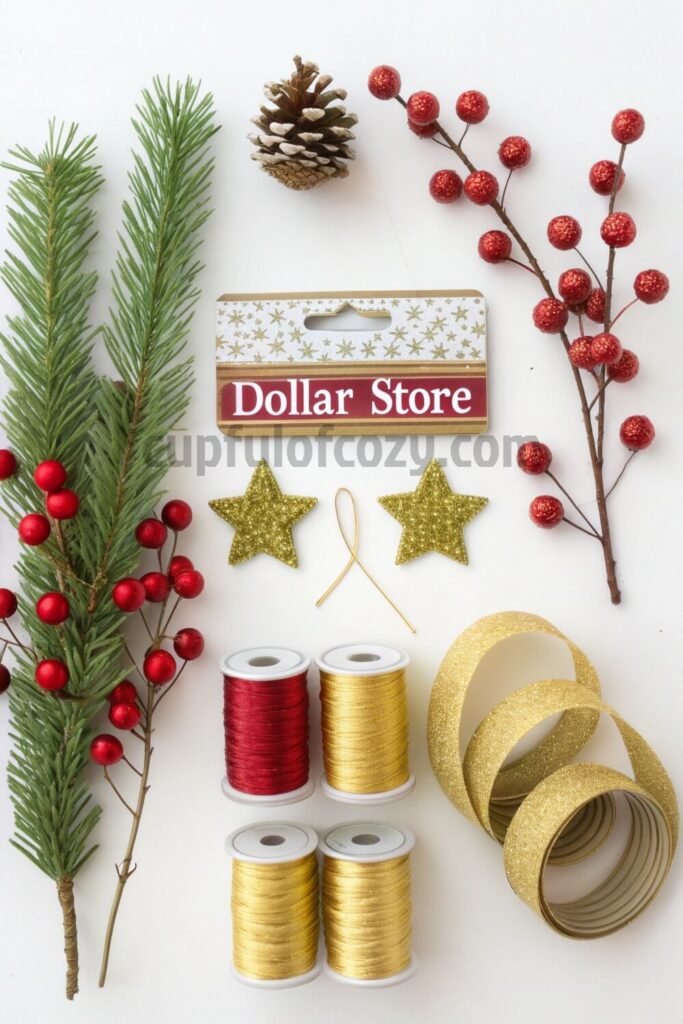
This is where it gets fun, and cheap! I swear by dollar store runs for wreath supplies. Last year I grabbed some artificial pine branches, those little glittery berries, and some gold ribbon for maybe eight bucks total. Compare that to buying a whole new wreath? No contest.
My go-to combo for that “rustic glam” vibe is mixing natural elements with just a touch of sparkle. Think pinecones (free from your yard or any park), some red berries, and maybe those tiny star ornaments. Here’s what I learned though: less is definitely more when you’re trying to look expensive on a budget.
The Artificial Snow Game-Changer
Okay, this tip literally changed my wreath game forever. A light dusting of artificial snow makes ANY wreath look like it just came from a fancy boutique. You can get the spray kind at the dollar store, and just a little bit goes such a long way. It covers up any imperfections and gives everything this dreamy, fresh-fallen-snow look that’s so cozy.
I remember the first time I tried this, I was so nervous about messing it up that I barely used any. Big mistake. The second attempt? I went a little bolder and wow, what a difference. Sometimes you gotta trust the process.
Make Those Natural Wreaths Last Forever
If you’ve got one of those gorgeous real evergreen wreaths, don’t let it die after one season! My neighbor taught me about soaking them in a glycerine solution: sounds fancy but it’s just glycerine from the pharmacy mixed with water. It keeps the branches flexible and green for literally years.
Or you can go the dried route, which I actually love because it gives you this whole rustic, farmhouse aesthetic that works year-round. My sister did this with hers and three years later, people still think she bought it at some expensive boutique.
Beyond Christmas: The Seasonal Switch-Up
Here’s something I learned from Pinterest but actually tried: you can totally transform your Christmas wreath for other seasons! After New Year’s, I swapped out the red and gold stuff for little mini pumpkins and some burnt orange ribbon, and boom, fall wreath that lasted me through Thanksgiving.
What gets me excited about this is choosing decorations that aren’t super Christmas-specific. Skip the Santa ornaments and go for things like pinecones, neutral ribbons, and natural elements that work multiple seasons. It’s like having four different wreaths for the price of one.
Turn It Into a Centerpiece
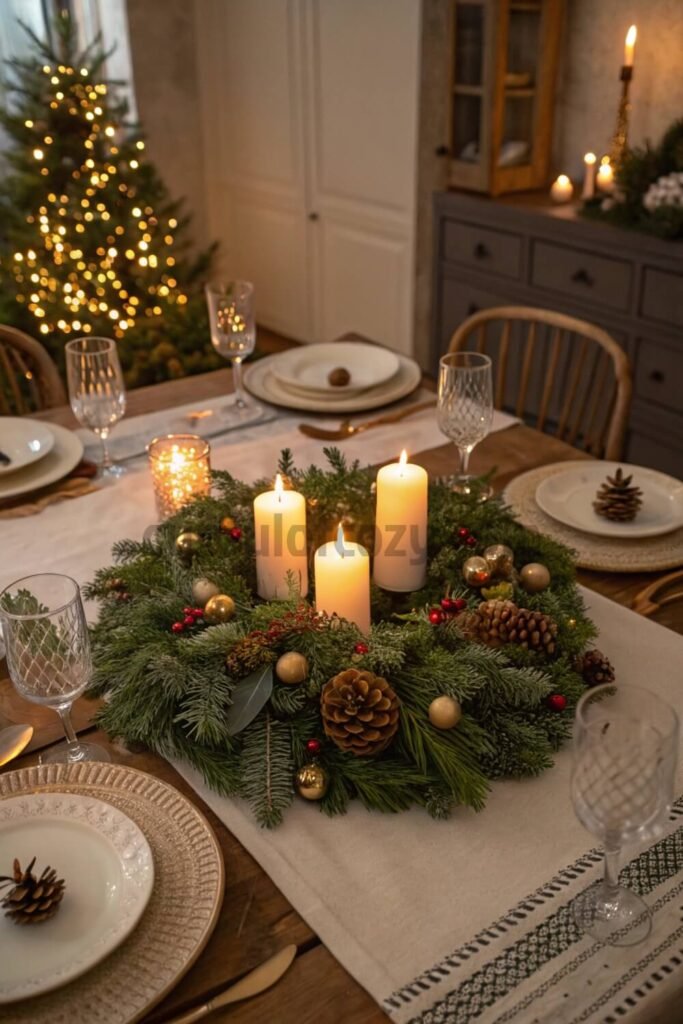
This idea came to me during one of those “I need a centerpiece for dinner in two hours” panic moments. Just lay your wreath flat on the table and stick some pillar candles or a cute vase in the center. Instant elegant centerpiece that looks like you planned it all along.
I’ve done this with both my Christmas wreath and my spring one, and people always ask where I got such a unique table decoration. Little do they know it’s the same wreath I’ve been recycling for three years!
Potpourri and Mini Arrangements
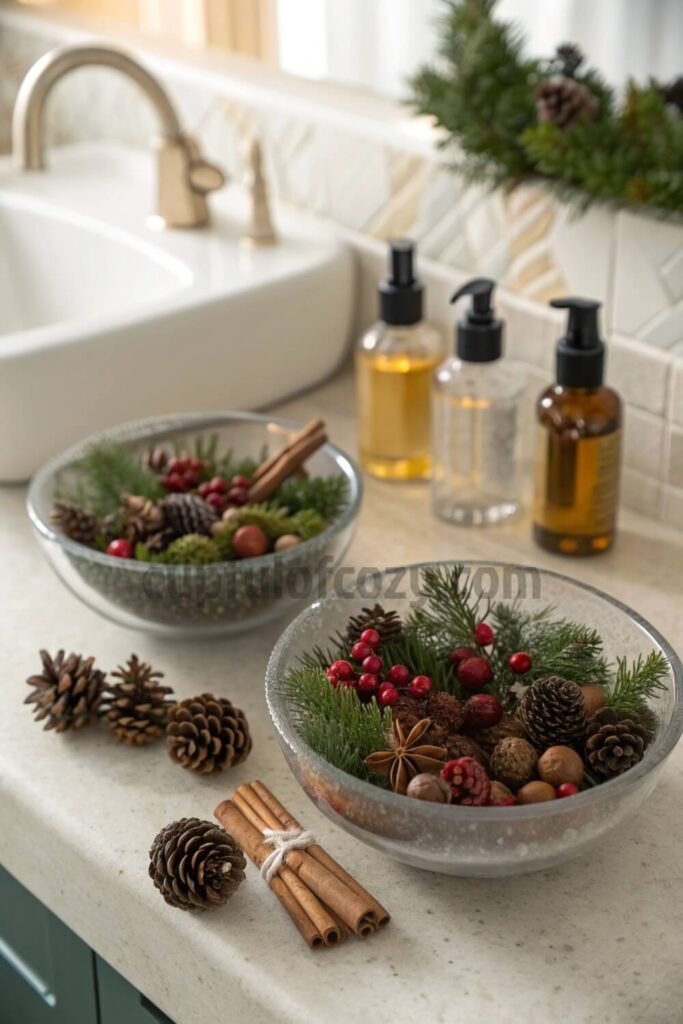
When your wreath is truly ready to retire, don’t throw away those good branches and decorations! I learned to break them down into smaller pieces for little arrangements around the house. Those pinecones and dried berries make wonderful potpourri when you add some cinnamon sticks and essential oils.
My bathroom counter has had the same little arrangement of repurposed wreath pieces for months, and it still smells incredible every time someone walks in. It’s like getting bonus decorations from stuff you already paid for.
The Rub ‘n Buff Transformation
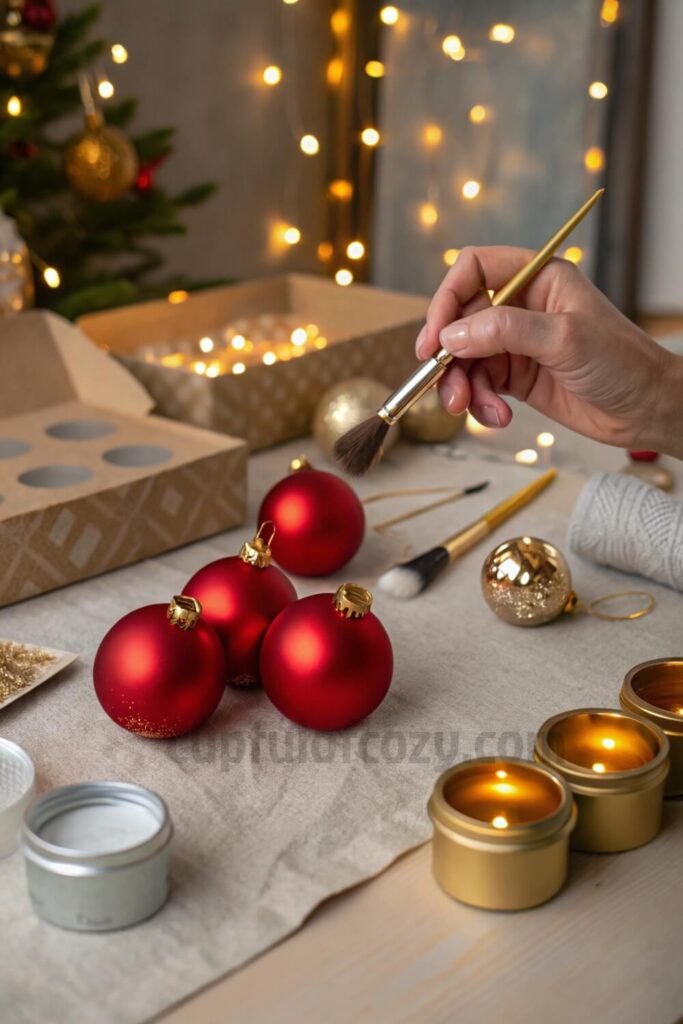
This might be my favorite discovery of all time. Rub ‘n Buff is this craft paint that can transform literally any ornament. Those red ball ornaments from five years ago? A little gold Rub ‘n Buff and they look like expensive champagne-colored decorations.
I’ve changed silver to rose gold, red to antique bronze: it’s like having a whole new ornament collection without buying anything new. Plus it takes maybe two minutes per ornament. The first time I did this, I felt like some kind of craft genius, even though it’s stupidly easy.
The Art of Strategic Fluffing
Sometimes your wreath doesn’t need new decorations, it just needs some TLC. Spend a few minutes repositioning everything, fluffing up bows that got flat, and spreading out elements that got bunched together in storage.
I like to avoid gluing things permanently because then I can switch up the look whenever I want. Everything just gets tucked and twisted into place, which means next year I can completely rearrange it for a fresh vibe. My cousin thinks I’m crazy for not using hot glue, but I like the flexibility.
Final Thoughts
The best part about refreshing old wreaths? You end up with something that feels totally custom and personal, not like something everyone else has hanging on their door. Plus every time someone compliments it, you get that little internal victory dance of “Thanks, I made it myself… for basically nothing!”
Once you start seeing your old holiday decorations as raw materials instead of finished products, you’ll never want to buy new again. Your wallet and your creativity will both thank you. And who knows? You might discover you’re way more crafty than you thought you were.
Trust me, that sad wreath sitting in your storage bin has at least one more beautiful season left in it. Maybe even several.
Personal FAQ Section
Q: Okay but seriously, how long does this actually take? I’m not trying to spend my whole weekend on a wreath.
A: Girl, I feel you! The whole process usually takes me about an hour, maybe two if I’m being really extra with it. Most of that time is just me moving things around until it looks right, not actually doing complicated stuff. Put on a Christmas movie and just play with it: it’s actually pretty relaxing once you get into it.
Q: What if my wreath base is actually falling apart? Like, the wire is bent and branches are missing?
A: If the wire frame is still holding its shape, you can work with it! Bent wire actually adds character sometimes. For missing branches, just weave in some new fake ones from the dollar store: they don’t have to match perfectly. But if it’s literally disintegrating, it might be time to let it go and start fresh. I’m all for saving money, but some things are beyond saving.
Q: I’m not crafty AT ALL. Will this look obviously homemade in a bad way?
A: Listen, I cannot draw a straight line to save my life, and my wreaths turn out great. Keep it simple and don’t try to do too much. Pick like three elements max, spread them around evenly, and call it done. The “perfectly imperfect” look is actually trendy right now anyway! And worst case scenario? You’re out like ten bucks in dollar store supplies, not sixty bucks on a new wreath.
Q: How do I store this thing so it doesn’t get destroyed again next year?
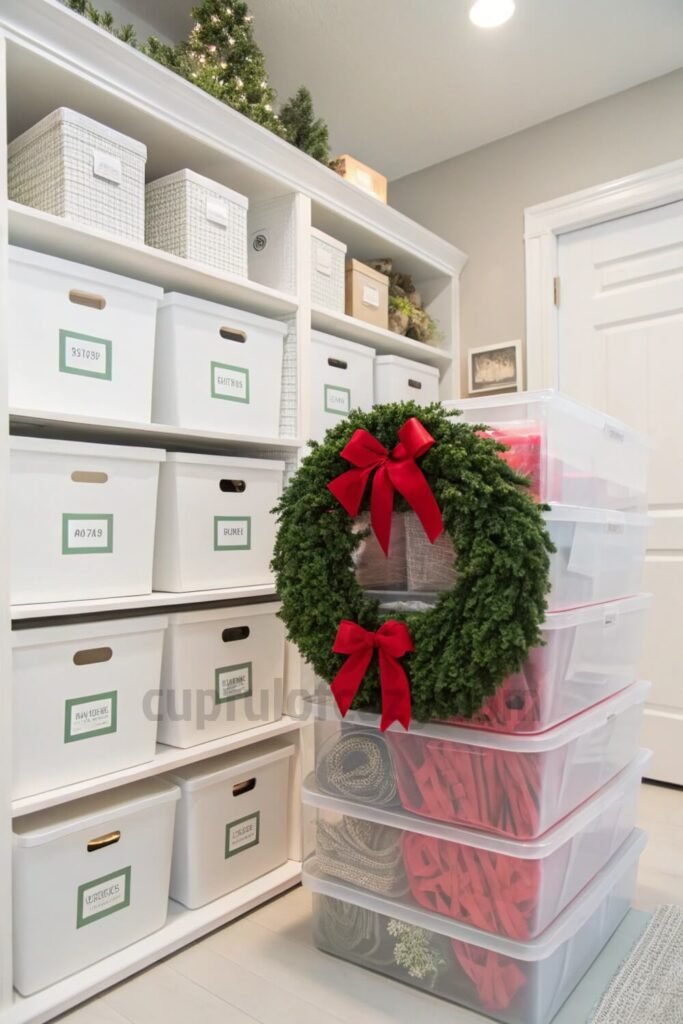
A: This was my biggest learning curve! Get one of those plastic wreath storage containers: they’re like fifteen bucks and totally worth it. Or if you’re being cheap like me, a big garbage bag works, but put some tissue paper around the decorations so they don’t get crushed. Store it somewhere that doesn’t get super hot or cold, and your future self will thank you when you pull out a wreath that actually still looks good.
Related posts:
7 Quick & Easy Centerpiece Fixes When You Can’t Find the Right Vase Size
6 Quick Fixes to keep garland from falling off the mantle and fireplace - easily hang holiday garlan...
12 Cozy & Cute Halloween Mantel Decor for Moms Who Don’t Like Scary
10 Charming Boho Farmhouse Coffee Bar Cabinets for Small Spaces To Maximize Spaces
- Before buying anything online, check Rakuten (formerly Ebates) — either with the browser extension or directly on Rakuten.com. Just type in your store, click the current deal, and shop as usual. Every purchase earns you cashback that can be mailed to you or sent via PayPal. In today’s economy, even a few dollars back can turn into a Starbucks latte, McDonald’s fries for the kids, or a little treat you don’t have to budget for. If you’ve never used Rakuten before, you’re missing out on free money — and right now, you’ll even get a $30 bonus when you spend your first $30. Click here to sign up and stop letting your online orders steal from you. Click here to sign up and save money!
*Disclosure: This post includes affiliate links. I may earn a small commission if you join Rakuten through my link — but it doesn’t cost you anything extra. In fact, you’ll actually save more!

