Last week I was at my cousin’s house and she had these absolutely gorgeous handmade Christmas cards scattered all over her dining table. I’m talking nativity scenes that looked like tiny works of art, angels with the most delicate details, and stars that literally sparkled. When I asked her how she made them, she laughed and said, “Girl, I’m not some craft goddess – I just learned some quick stamping tricks!”
That got me thinking about how we always assume handmade means hours of painstaking work, but honestly? Some of the most stunning cards come together in like 15 minutes when you know what you’re doing. So I dove deep into researching (and okay, maybe got a little obsessed) with quick stamping techniques that’ll have your Christmas cards looking absolutely professional without the stress.
1. Foam Custom Stamps – Your New Best Friend
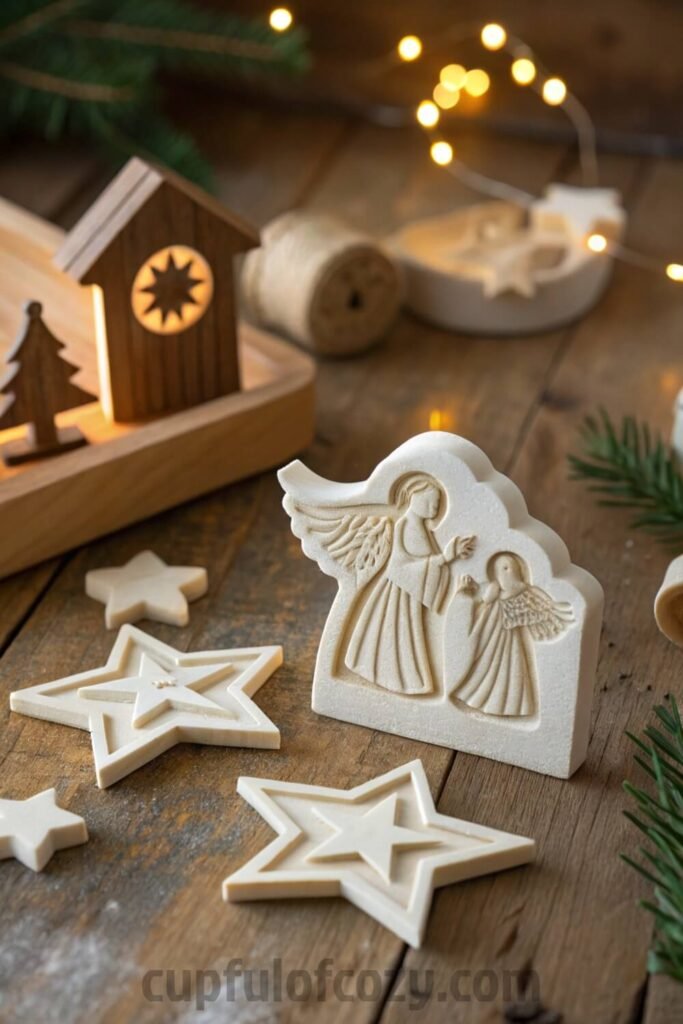
You know that feeling when you see something in a store and think “I could totally make that myself”? That’s exactly what happened when I spotted these expensive custom-stamped cards at a boutique downtown. Turns out, creating your own stamps from foam is ridiculously easy and so much more personal than anything store-bought.
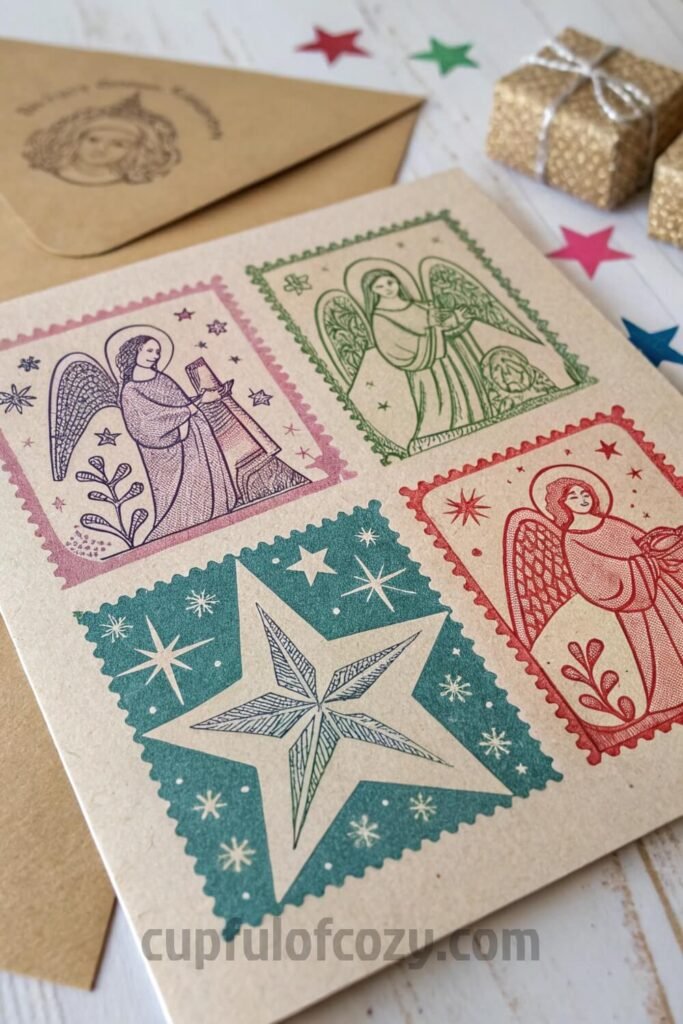
All you need is some craft foam, scissors, and a wooden block. Cut out simple shapes – think silhouettes of Mary and Joseph, a basic manger, or even just a bold star. The beauty is in the imperfection, honestly. My first attempt at a nativity scene looked more like stick figures having a picnic, but there’s something so charming about that handmade wonkiness. Plus, once you stamp it with rich brown or deep blue ink, even the simplest shapes look intentional and beautiful.
2. Printable Nativity Templates – Because We’re Not All Artists

Can we be real for a second? Not everyone can freehand draw an angel that doesn’t look like a confused bird. I discovered this after my neighbor showed me her card-making setup – she had these gorgeous printable templates she found online, and I was like “Why didn’t I think of that?”
The genius is in the simplicity. You print out the nativity figures on cardstock, cut them out, and glue them onto your folded cards. But here’s the trick she taught me – use different textures of paper. Print Mary and Joseph on matte cardstock, the star on something with a slight shimmer, and suddenly your $0.10 printout looks like a $15 boutique card. My eight-year-old niece helped me make a batch last weekend, and honestly, hers turned out better than mine!
3. Ink-Blended Silhouettes – Drama in All the Right Ways
I saw this technique on Instagram and immediately saved it because wow, the drama! There’s something about a stark black nativity silhouette against a sunset-colored background that just hits different. It reminds me of those moments driving home at dusk when the whole sky looks painted.
The process is surprisingly therapeutic too. You stamp or cut your nativity shapes, then blend inks from deep purple at the top to warm orange at the bottom. It’s like meditation, honestly – just you, the ink, and these gentle circular motions. Even if you mess up the blending (which I definitely did on my first few tries), it still looks intentionally artistic.
4. Embossed Angel and Star Patterns – Texture That Speaks
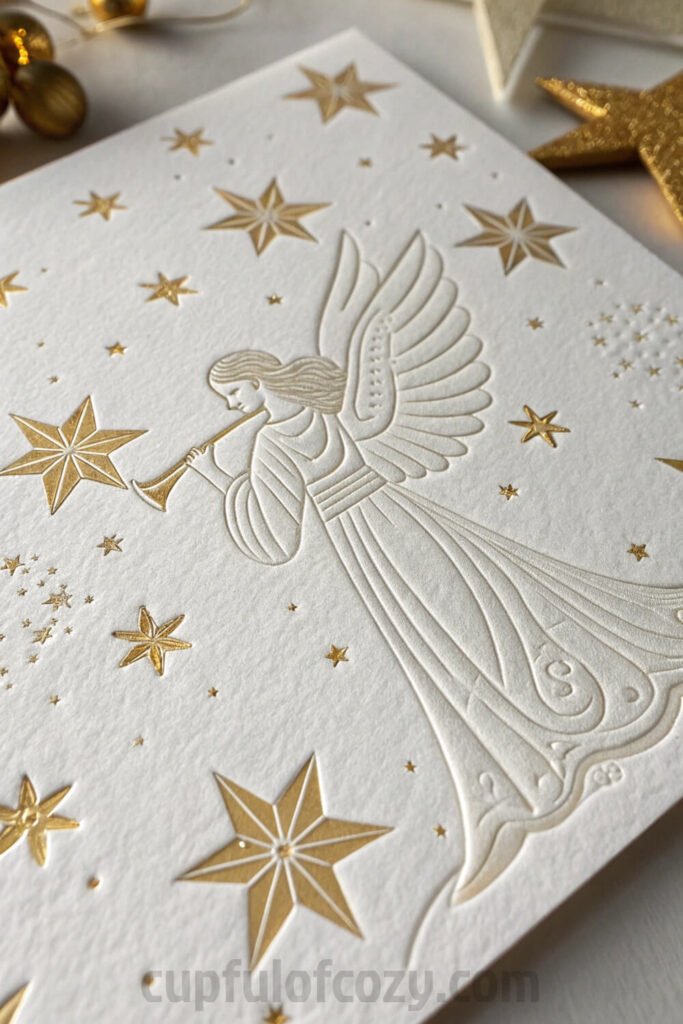
My aunt is obsessed with texture in everything – her throw pillows, her pottery, even her garden has this amazing textural element. So when she showed me how to emboss Christmas cards, I knew I had to try it. There’s something so satisfying about running your fingers over those raised angel wings and stars.
The embossing adds this elegant, almost vintage feel that makes your cards feel expensive. Combine it with simple stamped nativity scenes and you’ve got this perfect balance of detail and simplicity. Fair warning though – once you start embossing, you’ll want to emboss everything. I may have gone a little overboard and embossed my grocery list last week.
5. Washi Tape Accents – Quick Fix for Everything
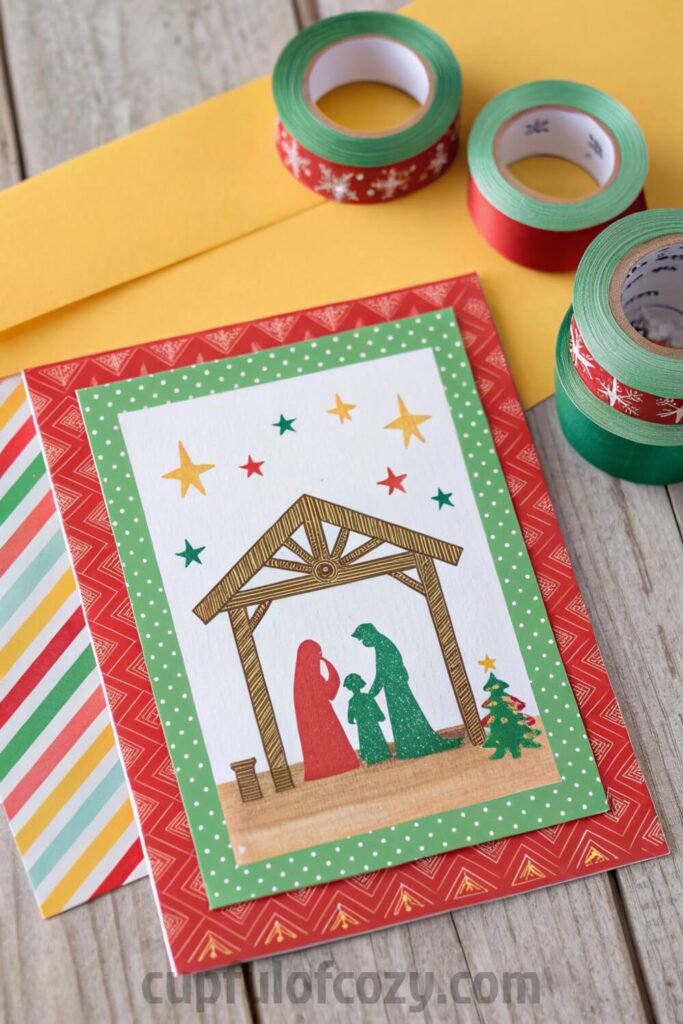
Confession: I’m mildly obsessed with washi tape. My craft drawer looks like a rainbow exploded, but in the best way possible. Using washi tape to frame your stamped nativity scenes is like adding the perfect accessories to an outfit – it just pulls everything together.
I love using gold metallic tape around the edges or creating little star patterns with tiny pieces. Sometimes I’ll use the tape to create “roads” leading to the manger, or even make simple Christmas trees. The best part? If you mess up, you just peel it off and try again. No commitment issues here!
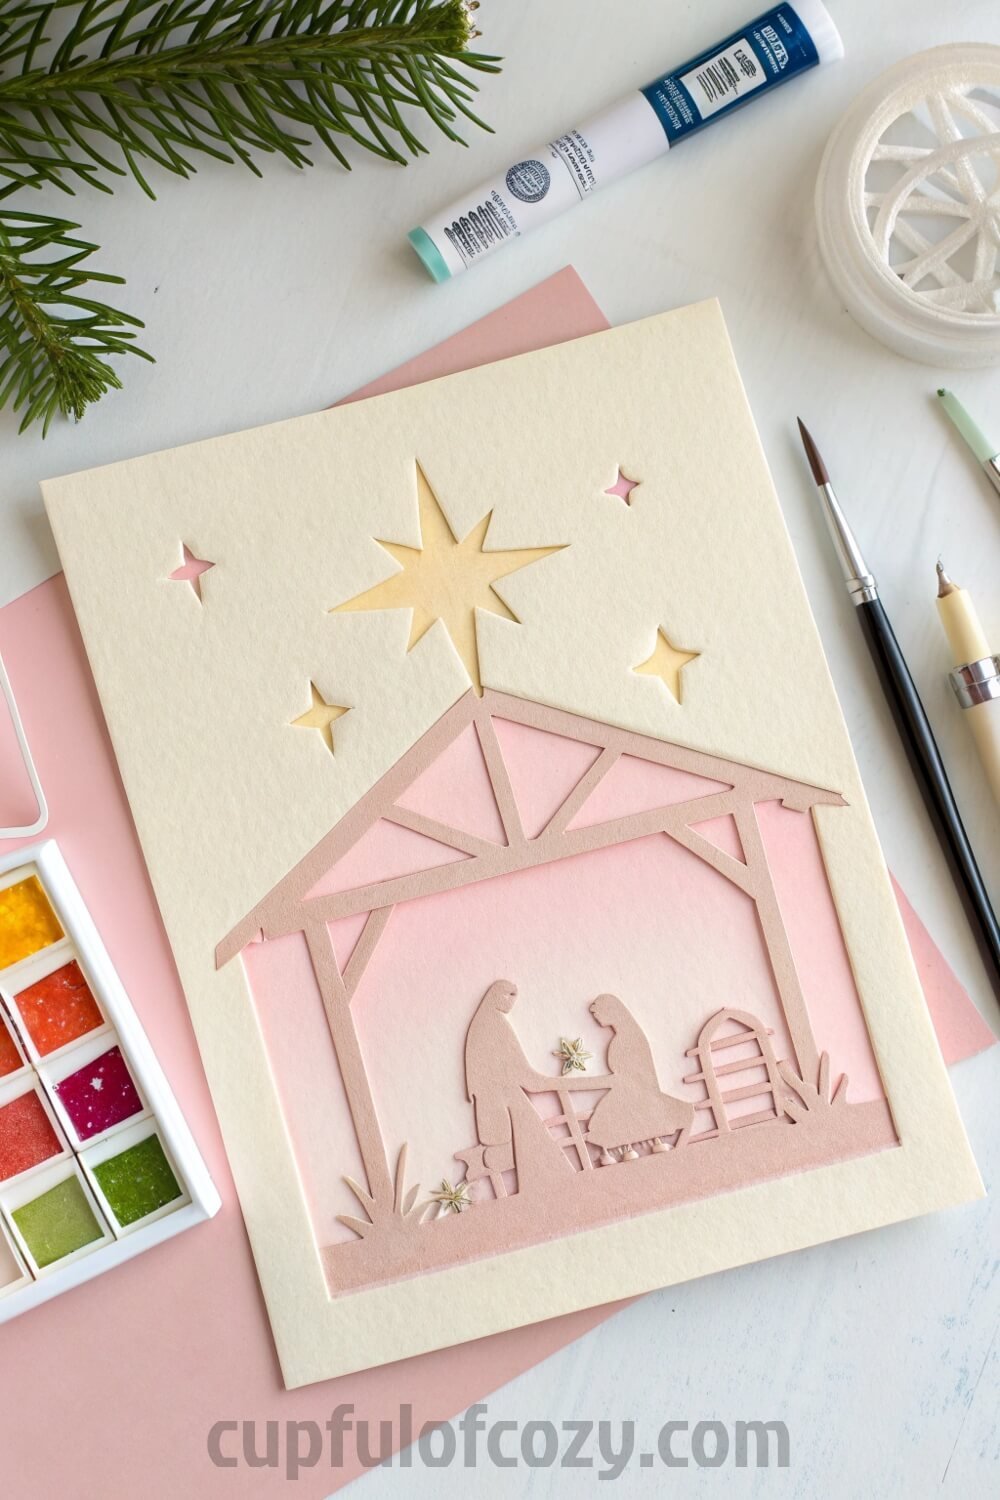
6. Layered Cardstock Techniques – Dimension Without Drama

Remember those pop-up books we had as kids that made everything feel magical? That’s exactly the vibe layered cardstock gives your Christmas cards. I learned this technique from a YouTube video at 2 AM (don’t judge my craft insomnia), and it completely changed how I think about card making.
The trick is using different colors strategically – brown cardstock for the stable, soft yellow for the star, maybe a deep blue for the night sky. When you layer them with foam squares in between, suddenly your flat card has this amazing depth. It’s like giving your nativity scene its own little stage.
7. Stamp Set Combinations – Mix and Match
Here’s something I learned the hard way: you don’t need to buy a million different stamp sets. My first craft store trip was embarrassing – I bought like six different Christmas sets thinking I needed one for every possible design. Turns out, the magic happens when you start mixing stamps from different sets.
Take your basic nativity stamps and combine them with some general Christmas elements – maybe snowflakes around the scene, or little pine branches framing the edges. I love mixing my everyday star stamps with specific nativity figures. It keeps each card unique but maintains that cohesive Christmas feel.
8. Ink and Glitter Highlights – Sparkle Responsibly

Look, I know glitter is controversial – it gets everywhere and shows up in random places months later. But used sparingly? It’s pure magic. Just tiny touches on the star or angel wings can make your cards feel special without looking like a craft store exploded.
I’ve started using a fine-tip glue pen to add precise glitter accents, or sometimes just gold ink highlights work even better. There’s something about that little bit of shimmer that makes people pick up your card and really look at it. Plus, it catches the light so beautifully when the card is displayed.
9. Simple Ribbon Embellishments – Classic Never Fails

Sometimes the simplest additions make the biggest impact. A thin red ribbon tied around the edge of your card or a small gold bow in the corner can elevate your stamped nativity scene from homemade to heirloom quality.
I found these gorgeous narrow ribbons at the fabric store last month – some with tiny stars woven in, others with this subtle metallic thread. The key is restraint though. One thoughtful ribbon accent beats five random decorative elements every time.
10. Interactive Pop-Up Elements – Surprise Inside!
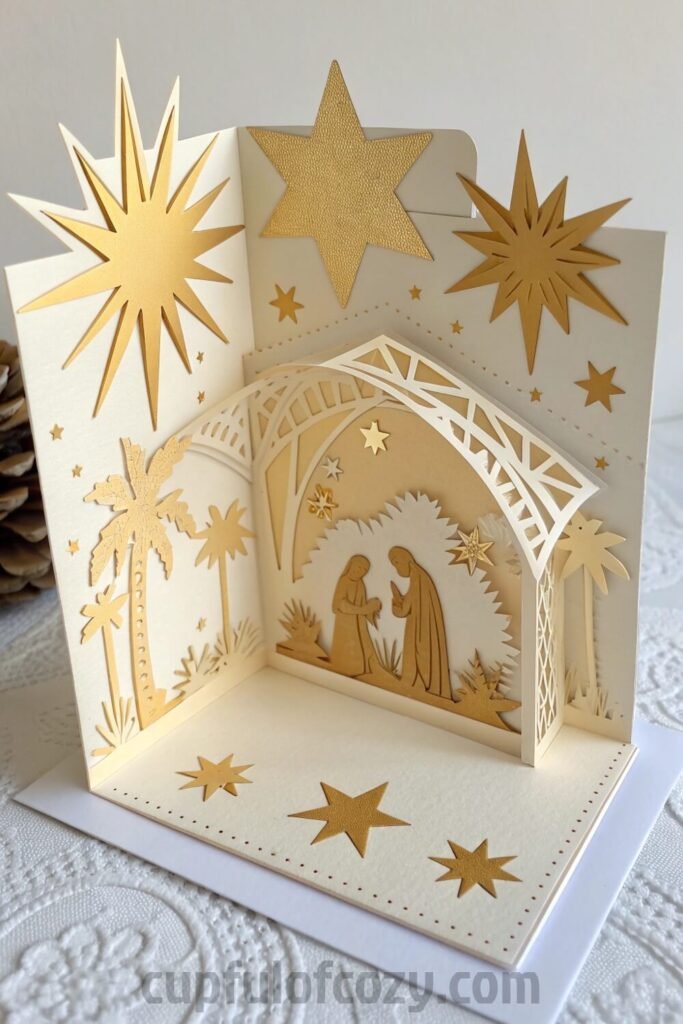
This one takes a tiny bit more planning, but the “wow factor” is incredible. Creating a simple pop-up element inside your card – maybe a star that pops up when opened or a little manger scene that unfolds – adds this element of surprise that people absolutely love.
I made some of these for my coworkers last year, and I’m not kidding when I say people kept them on their desks well into February. There’s something about that interactive element that makes your card feel like a tiny gift rather than just a greeting.
Final Thoughts
The thing about making Christmas cards is that they’re not just about the final product – though these techniques will definitely give you cards that look professionally made. It’s about those moments of creating something beautiful with your hands, maybe with Christmas music playing and hot cocoa getting cold because you’re so absorbed in what you’re doing.
Whether you try one of these techniques or mix several together, remember that the imperfections are what make them special. That slightly crooked star or the angel that looks more like she’s doing yoga than announcing good news? Those are the details that make people smile and keep your cards long after the season is over.
So grab your stamps, put on your favorite playlist, and let’s make some Christmas magic happen – no art degree required!
Related posts:
- Before buying anything online, check Rakuten (formerly Ebates) — either with the browser extension or directly on Rakuten.com. Just type in your store, click the current deal, and shop as usual. Every purchase earns you cashback that can be mailed to you or sent via PayPal. In today’s economy, even a few dollars back can turn into a Starbucks latte, McDonald’s fries for the kids, or a little treat you don’t have to budget for. If you’ve never used Rakuten before, you’re missing out on free money — and right now, you’ll even get a $30 bonus when you spend your first $30. Click here to sign up and stop letting your online orders steal from you. Click here to sign up and save money!
*Disclosure: This post includes affiliate links. I may earn a small commission if you join Rakuten through my link — but it doesn’t cost you anything extra. In fact, you’ll actually save more!