You know that drawer in your kitchen where random stuff just accumulates? The one with twist ties, takeout menus from places that probably closed three years ago, and those little packets of soy sauce you never use? Well, mine also has this growing collection of wine corks that I’ve been saving “just in case.” My grandmother always said never throw away anything that might be useful someday, and apparently that philosophy extends to every cork from every bottle of wine I’ve opened since moving into my own place.
Last month, my sister was helping me organize (read: judging my life choices) when she picked up this mason jar full of corks from my counter and gave me that look. You know the one. “What exactly are you planning to do with these?” she asked, shaking the jar like it held the secrets of the universe. I mumbled something about crafts and quickly changed the subject, but honestly, I had no clue.
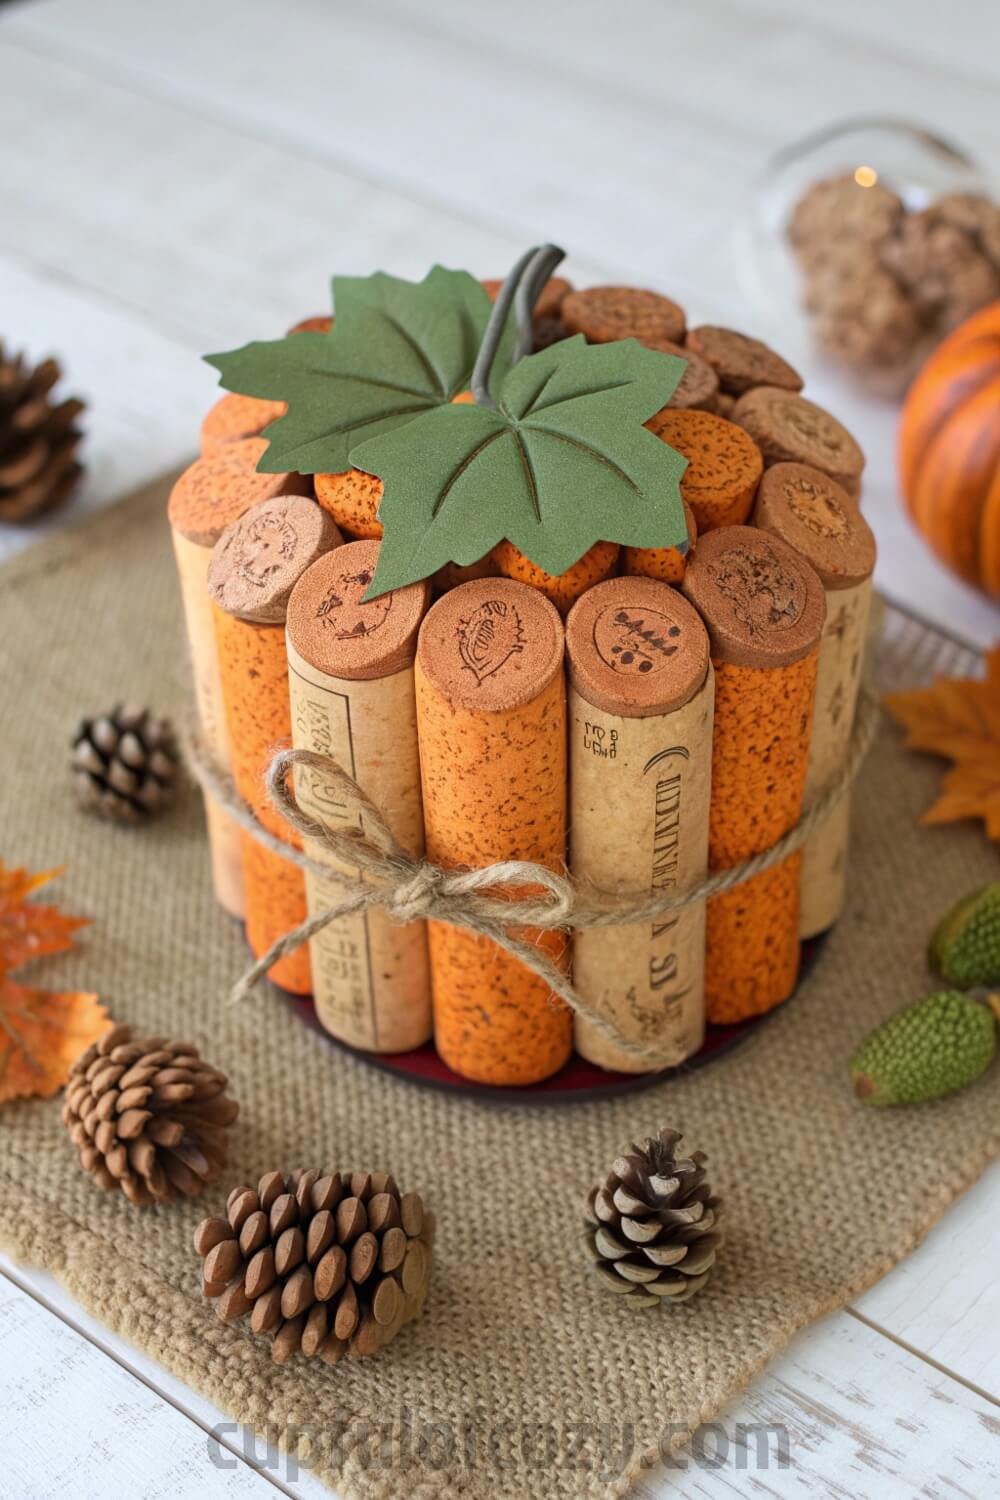
Then Instagram happened. I was mindlessly scrolling one Sunday afternoon, probably avoiding the laundry pile on my bedroom chair, when this gorgeous fall centerpiece popped up on my feed. Three little pumpkins made entirely from wine corks, sitting pretty on someone’s farmhouse table with autumn leaves scattered around them. I literally stopped mid-scroll and stared at my phone for like five minutes.
That’s when it hit me: all those nights with friends, celebrating promotions and breakups and random Tuesdays, every family dinner where my aunt insisted on opening “just one more bottle,” every girls’ night that turned into a therapy session over cheap rosé, those moments were sitting in my kitchen just waiting to become something beautiful. My grandmother would’ve loved that, turning memories into something you can actually see and touch.
The best part? This whole project took me 27 minutes from start to finish, including the time I spent untangling my dog from the hot glue gun cord because he thought it was his new favorite toy. When I posted the finished pumpkins on my story, my mom called within ten minutes asking how I made them. Now she’s been collecting corks from her book club wine nights, planning to make a whole village of these little guys for Thanksgiving.
Table of Contents
Gathering Your Wine Cork Collection
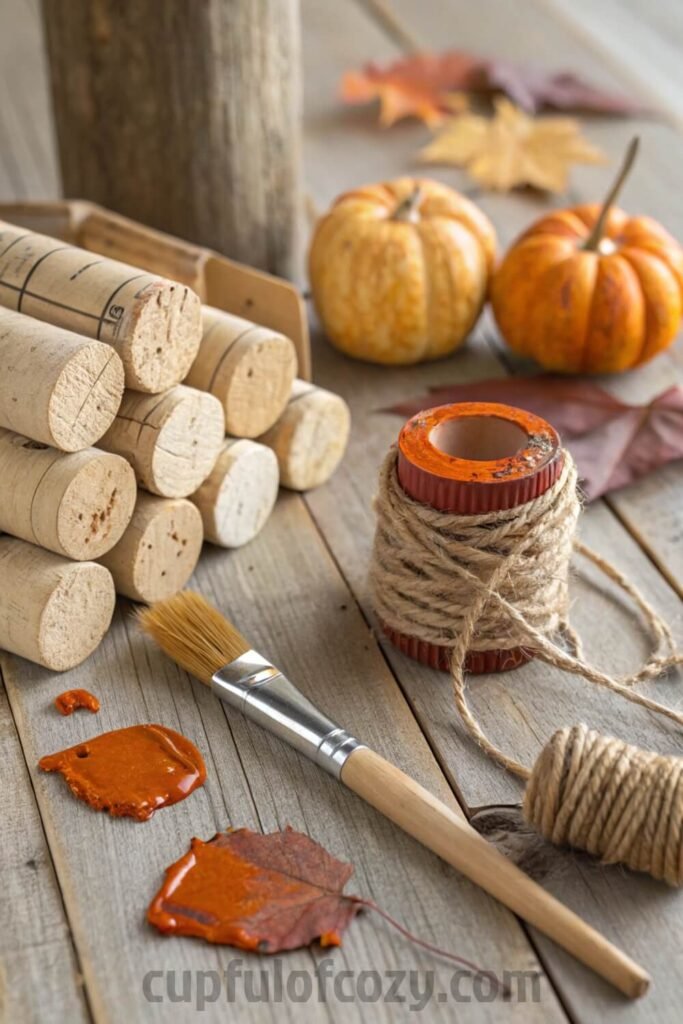
Here’s what you’ll need: about 20 to 25 wine corks, and before you panic thinking you don’t have nearly enough, remember that they don’t all have to come from your personal wine adventures. My cousin Sarah showed up to our last family barbecue with a grocery bag full of corks because she knew I was on the hunt. Turns out her book club goes through way more wine than they do books, which honestly explains a lot about their heated discussions over romance novels.
If you’re not drowning in corks like some of us (no judgment if you’re more of a beer person), craft stores sell them in bulk. Michael’s usually has bags of them for pretty cheap, especially when they’re running one of those 40% off coupons that seem to arrive in your mailbox every other day. Just try to grab corks that are roughly the same size. The fancy synthetic ones work fine, but the traditional cork ones are easier to work with because they’re not as slippery when you’re trying to glue them together.
I learned this the hard way when I first tried using those plastic-y corks from a bottle of cheap celebration wine. They kept sliding around like they were trying to escape, and I ended up with more glue on my fingers than on the actual project.
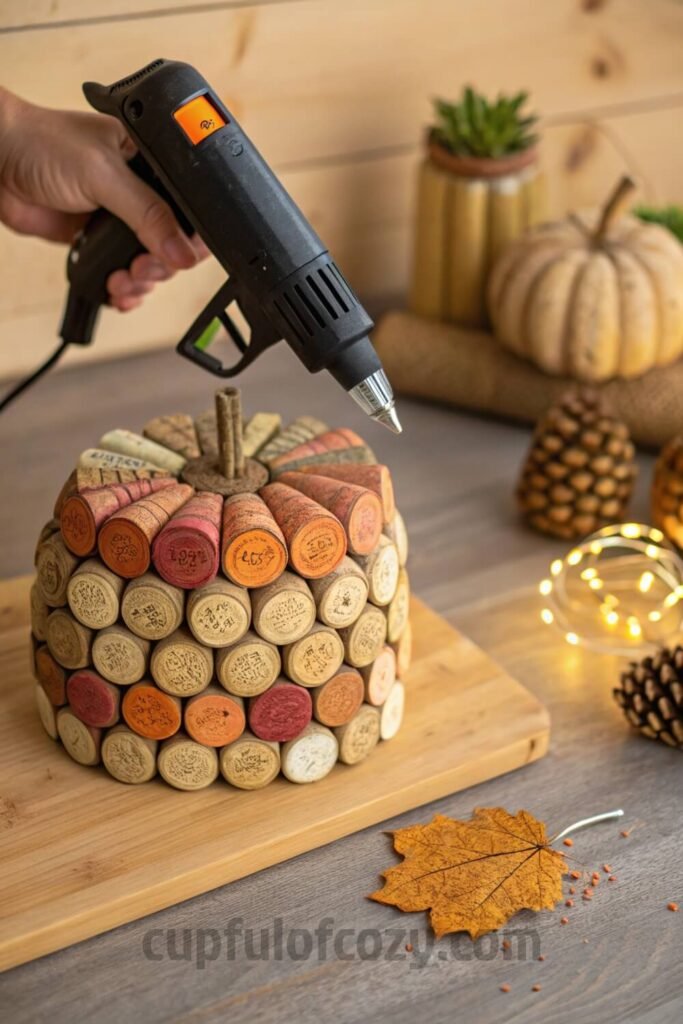
Building Your Pumpkin Shape
This part reminded me of playing with Lincoln Logs as a kid, except instead of building cabins, you’re creating something that actually looks like fall decided to move into your living room. Grab your hot glue gun, and please be more careful than I was. I have this tiny scar on my thumb from a Christmas ornament disaster two years ago that my family brings up every time I mention crafting.
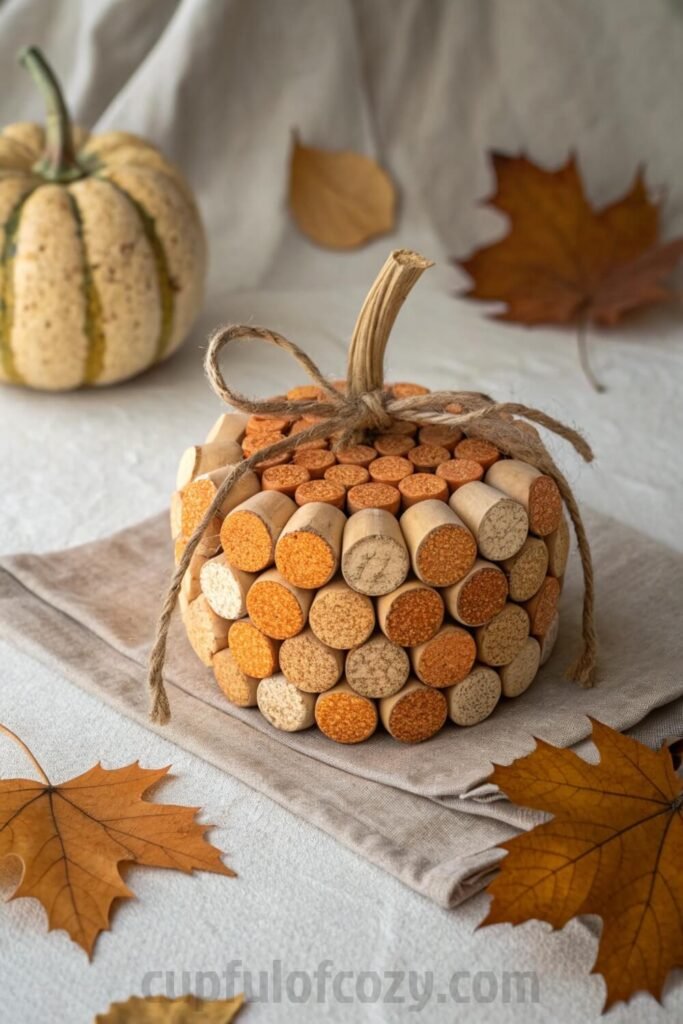
Start with four corks lined up side by side for your bottom row. Hot glue them together, making sure they’re snug against each other. Then comes the fun part: you’re going to build up in layers, kind of like you’re stacking a really short, fat pyramid. Second row gets five or six corks, depending on how chunky you want your pumpkin to look. The middle rows are where your pumpkin gets its belly, so go with six or seven corks there. Then work your way back down, five corks, then four on top.
What I love about this process is how forgiving it is. My first pumpkin was definitely lopsided, leaning to one side like it had been sampling too much wine itself. But you know what? It looked charming and rustic, exactly the kind of imperfect handmade thing that makes you smile every time you walk past it.
- Before you hit “buy” on your next decor order, there’s a free 10-second step you should never skip: checking Rakuten (Ebates). I simply find the store name, click the deal, and shop like normal, and Rakuten sends me real cashback! Prices keep climbing everywhere, but this is one way to get a little back on the things you were going to purchase anyway. New members even get a $30 bonus when they spend $30 — which means your first order could pay you back instantly. Don’t miss out again. Click here to sign up and save money!
*Disclosure: This post includes affiliate links. I may earn a small commission if you join Rakuten through my link — but it doesn’t cost you anything extra. In fact, you’ll actually save more!
Each row should sit comfortably on the one below it, creating that classic pumpkin curve. Don’t stress if your rows aren’t perfectly aligned. Real pumpkins aren’t symmetrical either, and the slightly wonky look just adds character.
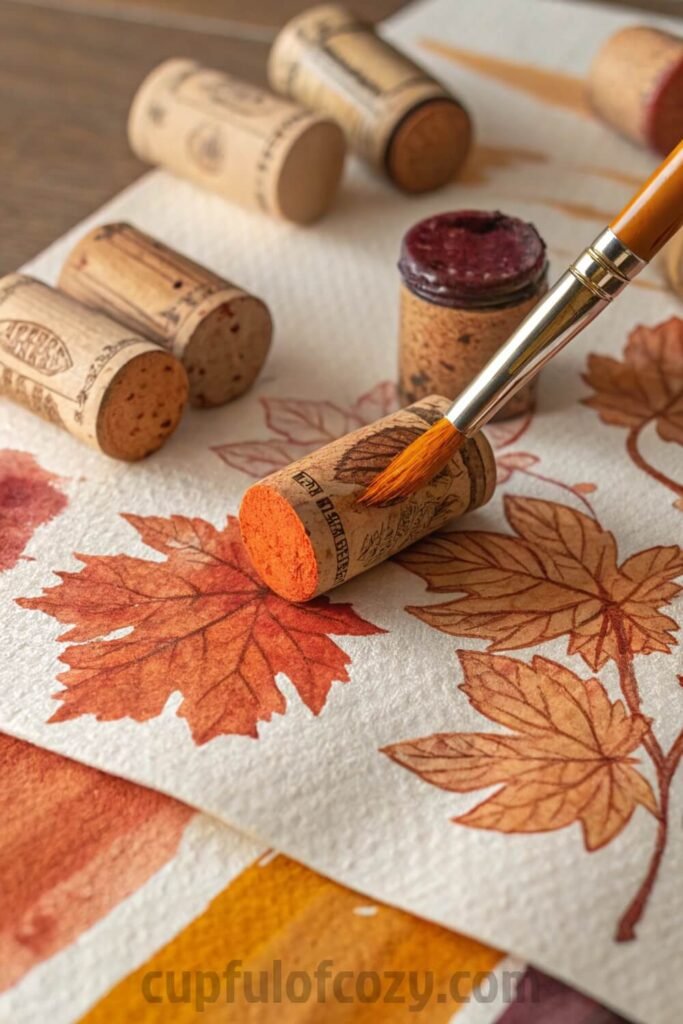
Creating That Perfect Fall Color
Once your pumpkin structure is solid and the glue has had time to set (maybe grab a cup of coffee and give it ten minutes), it’s time for the part that really brings this whole thing to life. I used basic orange acrylic paint, the kind you can find at any grocery store craft aisle for under two dollars.
Here’s something I figured out after painting my first one way too heavily: you don’t want to completely cover every surface of every cork. Instead, brush the orange paint lightly over the whole structure, letting some of that natural cork texture show through. It creates this beautiful rustic finish that screams cozy autumn vibes without looking too perfect or store-bought.
For the stem, I painted an extra cork brown and glued it right to the center top. Some people skip painting the stem entirely and just use a natural cork, which also looks great if you’re going for that totally organic feel. My neighbor did hers that way and it’s gorgeous, very minimalist and clean.
Adding Your Own Special Touches
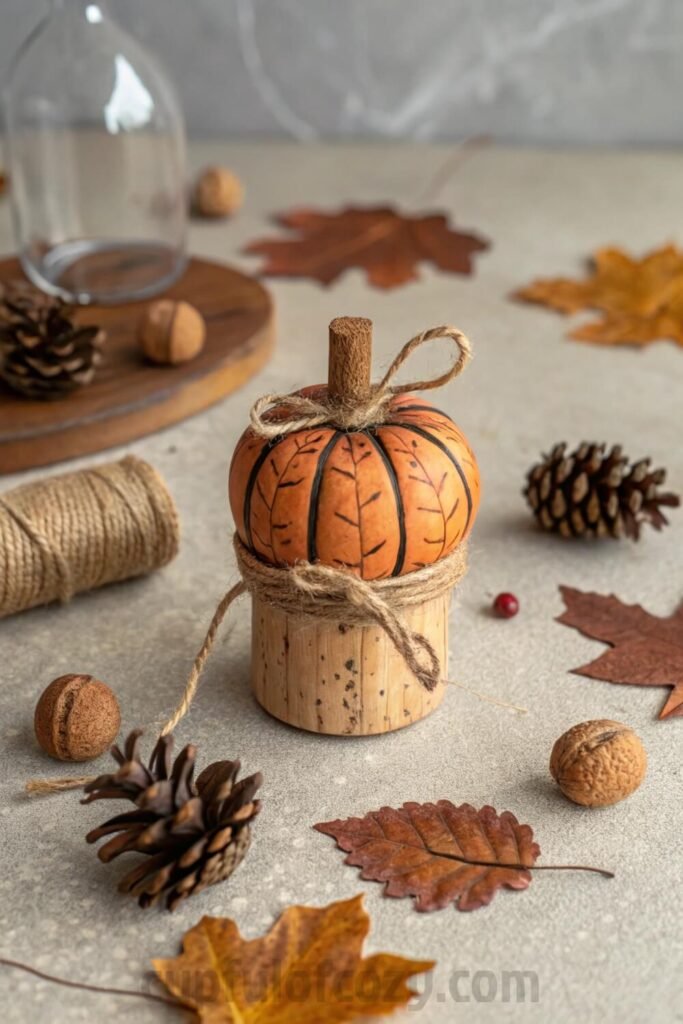
This is where you get to make it completely yours. I had some leftover faux autumn leaves from decorating my front porch (because apparently I’m that person now who decorates seasonally), so I tucked a few around the base and secured them with tiny dots of hot glue.
My friend Jenna wrapped a strip of burlap around the middle of hers and tied it in this perfect little bow. Very farmhouse chic and surprisingly elegant. Then there’s my coworker Maria, who has the most beautiful handwriting I’ve ever seen. She painted “grateful” in gold script across the front of her pumpkin, and I swear it made me a little emotional because it was just so thoughtful and personal.
Twine works beautifully too, especially if you wrap it around a few times and let the ends hang loose. You could add tiny pinecones or those miniature berries they sell at craft stores. Even a simple ribbon in burgundy or cream can completely change the whole vibe.
Why This Project Feels So Good
There’s something deeply satisfying about taking something that would normally end up in the recycling bin and turning it into something that makes your home feel more like, well, home. Every cork in my little pumpkin has a story attached to it: the bottle my sister and I shared while binge-watching an entire season of some ridiculous reality show, the wine from my friend’s housewarming party where we all signed the wall before the drywall went up, that bottle my mom opened when I got my promotion because she insisted we needed to celebrate properly.
It’s also the perfect weekend project when you want to feel productive but don’t want to commit to anything too intense. I made mine on a lazy Sunday while football played in the background, and it was honestly the most relaxing half hour of my entire week. Plus, it’s practically foolproof. If I can do it without gluing my fingers together or setting anything on fire, anyone can.
Making a Whole Pumpkin Family
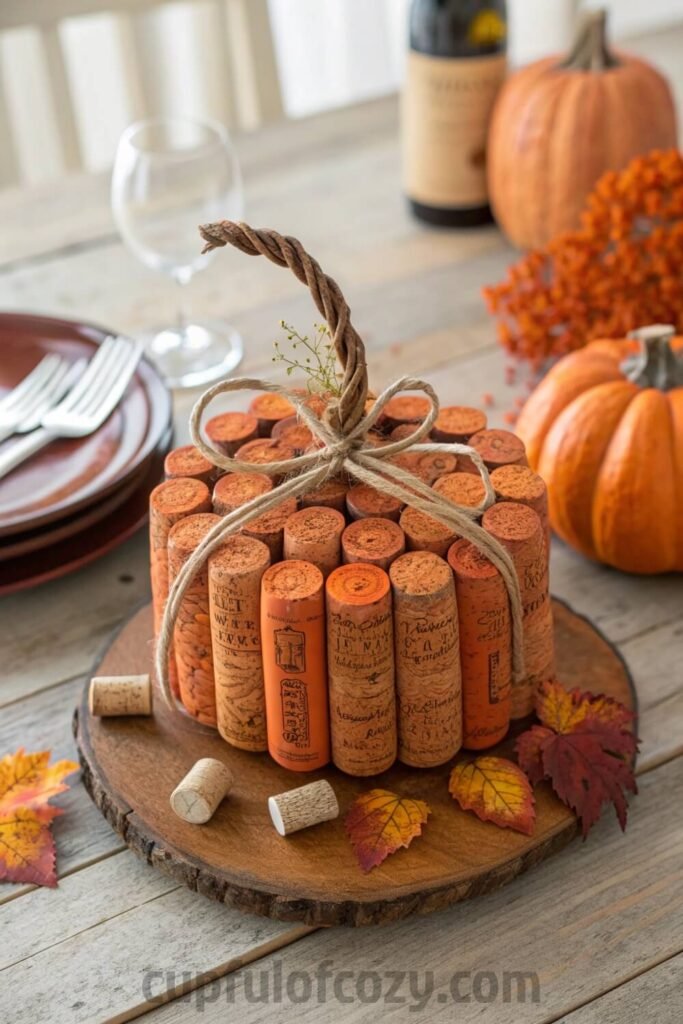
Once I finished my first pumpkin, I immediately wanted to make more. There’s something addictive about the process, plus one pumpkin sitting alone on a table looks a little lonely. I ended up making two smaller companions: one medium-sized using about 15 corks and this adorable tiny one with maybe 8 corks that looks like a baby pumpkin.
They look wonderful clustered together on my dining room table, like a little family of autumn decorations. Guests always notice them and ask about the cork thing, which gives me an excuse to tell the whole story about collecting them and turning them into something special.
For variety, you could paint them different shades. Maybe stick with classic orange for one, try a creamy white for another, and go with a deep burnt orange for the third. My friend Katie went completely different and did hers in all white, very modern and minimalist. They look sophisticated sitting on her black coffee table.
The bonus? These make incredible gifts. I’m already planning to make sets for my mom’s Thanksgiving table and probably a few extras for teacher appreciation gifts. They’re personal without being weird, useful without being boring, and they show you actually put thought and effort into the gift.
Something about this whole project just captures everything I love about fall: the coziness, the creativity, the way it brings back good memories while making new ones. Every time someone compliments my little cork pumpkins, I get to share the story behind them, and people are always surprised by how creative and resourceful it is. They’re like little conversation starters sitting right there on your table, ready to spark stories about wine nights and family dinners and all those perfect imperfect moments that make life good.
Plus, now when my sister sees my cork collection, she just nods approvingly and asks when I’m making her some for her apartment. Victory.
Related posts:
9 Budget-Friendly DIY Jolly Holly Cards with Stamped and Embossed Designs Using Dollar Store Supplie...
11 Pinterest-Loved Loft Bed For Low Ceiling Ideas That Actually Work
10 Genius & Stylish Farmhouse Open Shelf Ideas for Kitchen Storage - Mixing Glass, Wood, Greener...
10 Rustic Farmhouse Coffee & Tea Storage Station in Your Kitchen
- Before buying anything online, check Rakuten (formerly Ebates) — either with the browser extension or directly on Rakuten.com. Just type in your store, click the current deal, and shop as usual. Every purchase earns you cashback that can be mailed to you or sent via PayPal. In today’s economy, even a few dollars back can turn into a Starbucks latte, McDonald’s fries for the kids, or a little treat you don’t have to budget for. If you’ve never used Rakuten before, you’re missing out on free money — and right now, you’ll even get a $30 bonus when you spend your first $30. Click here to sign up and stop letting your online orders steal from you. Click here to sign up and save money!
*Disclosure: This post includes affiliate links. I may earn a small commission if you join Rakuten through my link — but it doesn’t cost you anything extra. In fact, you’ll actually save more!